
Article Creator – New User Tutorial
This is a comprehensive step by step tutorial for using SCM to create an article.
This guide will teach you how to:
- Set up the length and type of article you want to create
- Select where to find content
- How to insert images
- How to insert videos
- How to insert links
We will be using the article wizard to kick start the creation process and dive deeper into the advanced options to show you how to insert your own list of links, images and videos.
Lets begin with a set of imaginary requirements:
- Article keyword: dog training
- Use own image urls
- Use a list of own youtube videos
- Insert 1 link to the created articles
- Auto spin the article
- Post the generated content to a blog
Creating an article
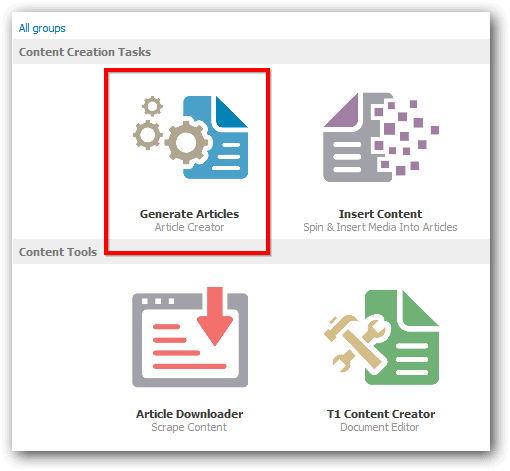
If you are an advanced user you can skip to the advanced setting below by clicking on the “Article Creator” task button, otherwise we begin with the content wizard that auto starts when you first install SCM.
If the content wizard doesn’t show up you can open it by clicking on the “Content Wizard” button.
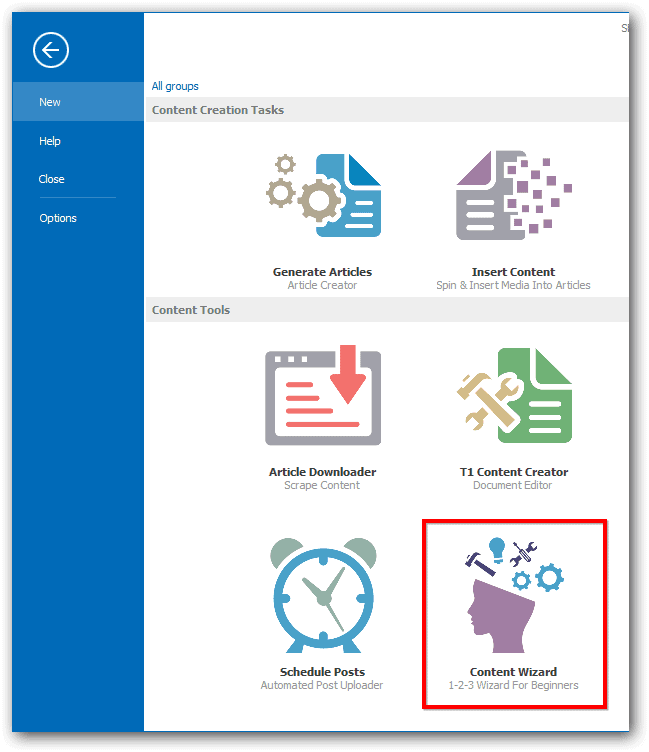
Content Wizard
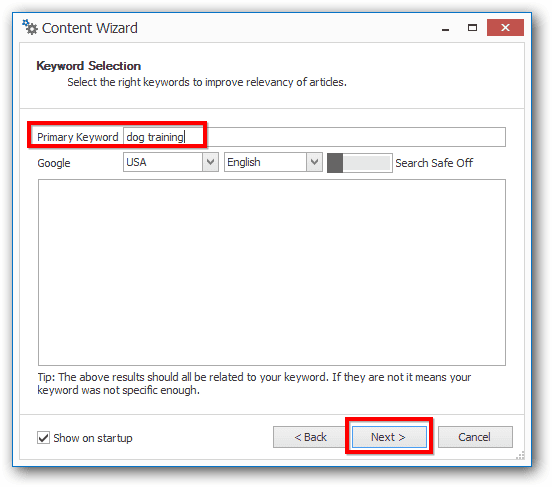
The keyword selection window is the first thing you need to complete.
Following our example, we type in “dog training” in the primary keyword textbox.
Set the Google country to “USA” if you are trying to create articles in English. You can change the country and language if you need content in a different language like French or Spanish.
Click on “Next”.
SCM will take a few seconds to find some additional keyword suggestions for you.
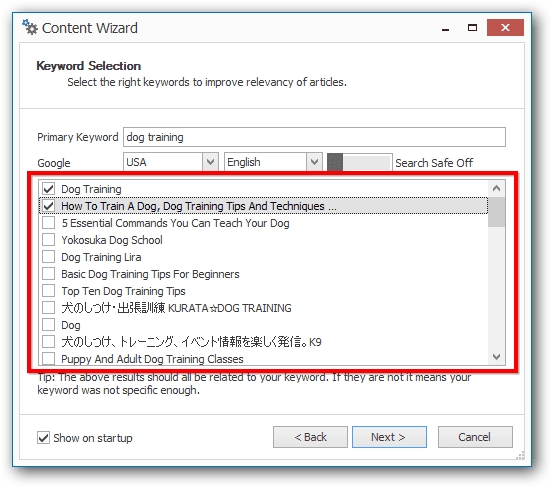
Select between 1 – 5 keywords that are related to the article you want to create.
Selecting additional keywords will improve the relevance of the final created article.
Don’t select more than 5, as it will slow down the time it takes to build your article.
Click “Next”.
Now you need to tell SCM what type of article you want to create and how long you want it to be.
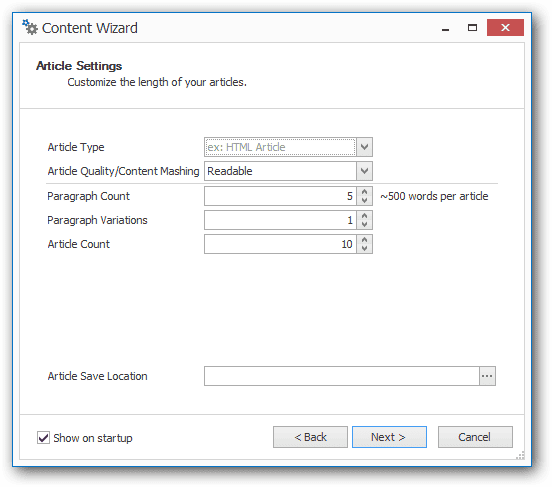
Recommended settings are:
- Article Type: HTML Article
You can also select a different format such as “GSA SER” if you want to use articles for that program. - Quality: Readable
- Paragraph count: 5
- Paragraph variations: 1
If you want to create 1 article that can be re-used many times, set the paragraph variations to 5+ - Article Count: 1+ (As many articles as you need)
You can get a detailed explanation of each setting by mousing over the control.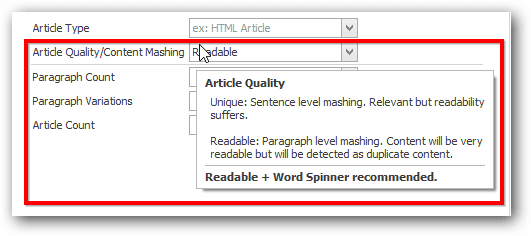
Click “Next”.
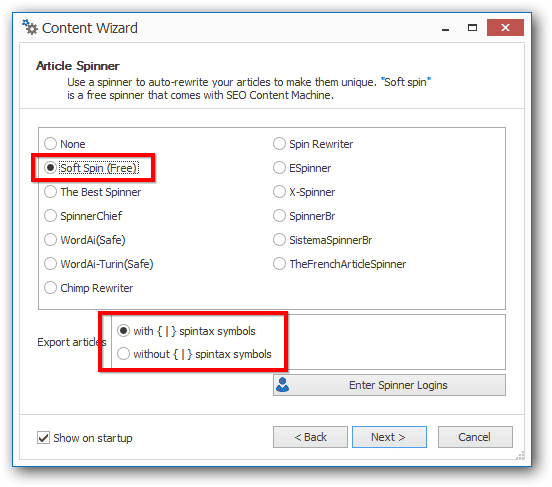
You now have the option to select an article spinner, aka an automatic article re-writer.
If you don’t have paid access to any spinners, you can use the freely included “Soft Spin”.
When your articles are re-written the content appears in special code like this:
{hello|hi} word
This is normal and is spinner formatted text, ie spintax.
Some programs allow you to post content in spintax, at the time the article is used the spintax will be removed.
If the program you use doesn’t support spintax, you can export articles without those {|} symbols.
Click “Next”
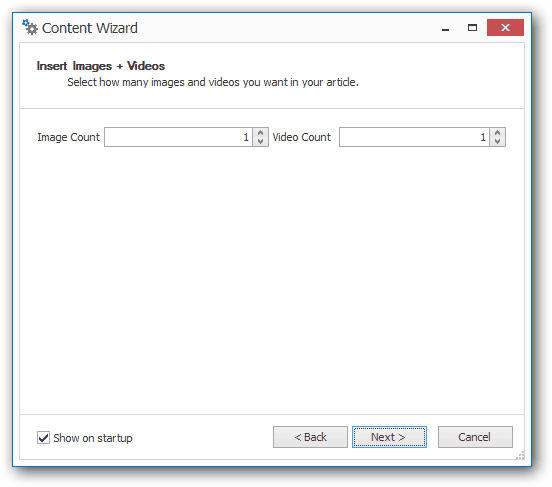
Now you can select how many images and videos you want to appear in the article.
Set the image and video count to 1.
Later on in the advanced settings area, I will show you how to use your own image urls and videos. You can even select where the images should appear etc.
Click “Next”.
The next step is to configure how many links you want to have appear in your article.
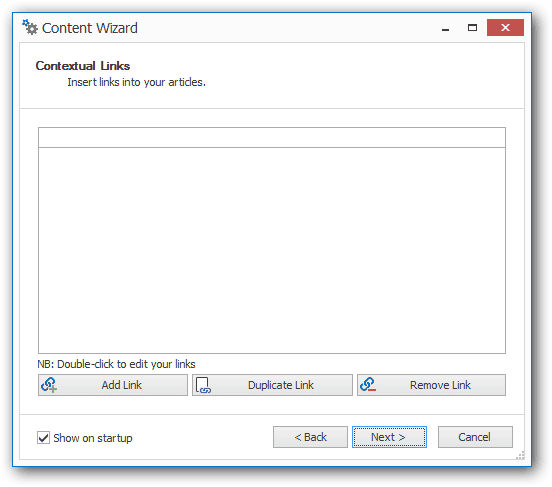
Click on “Add Link” to open the link details window.
Below are example settings.
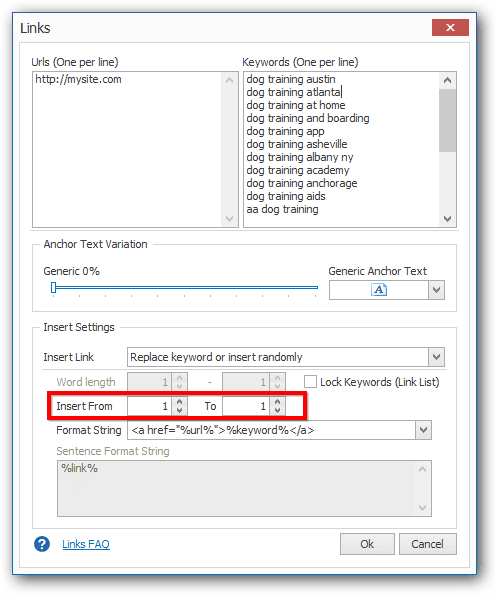
The “Insert From” sets how many links will appear in your article.
You can click on the “Links FAQ” link at the bottom for a detailed explanation of all the settings.
Click “ok” to verify that your link settings are saved.
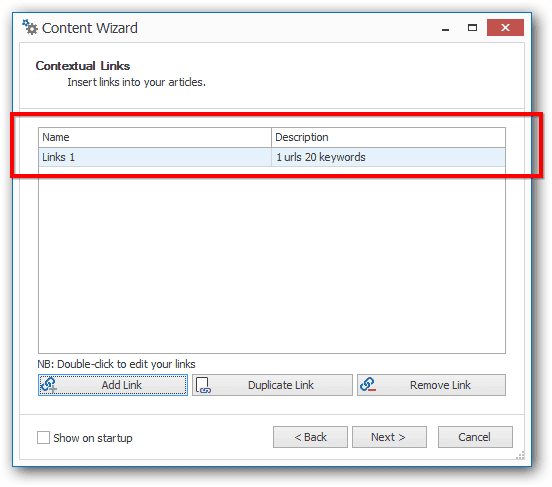
You can duplicate links, and remove links using the buttons available on the window,
Click “Next”.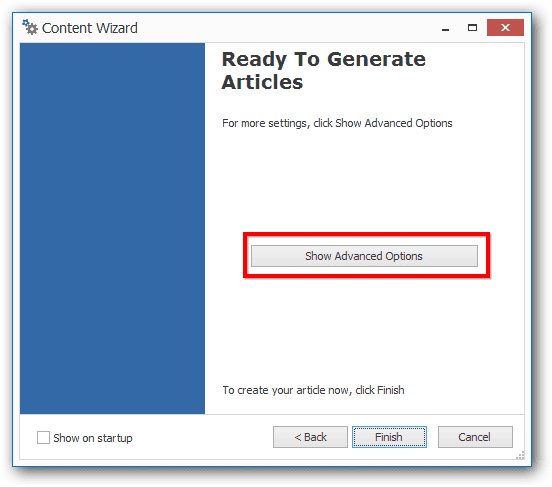
There are no more settings in the content wizard to fill out. You could click finish to begin creating your article now.
However, we want to use our own images and videos, so click on the “Show Advanced Options” button instead.
Article Creator
The article creator window displays many additional settings for fine tuning your article.
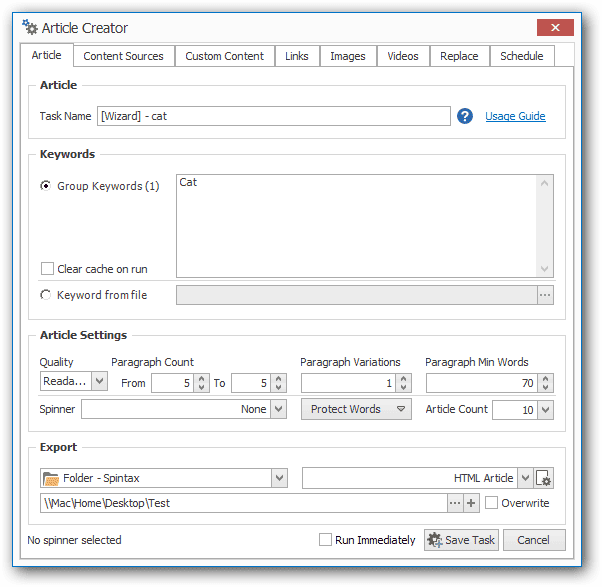
You can open this “Article Creator” window directly instead of using the content wizard too.
Insert your own image urls
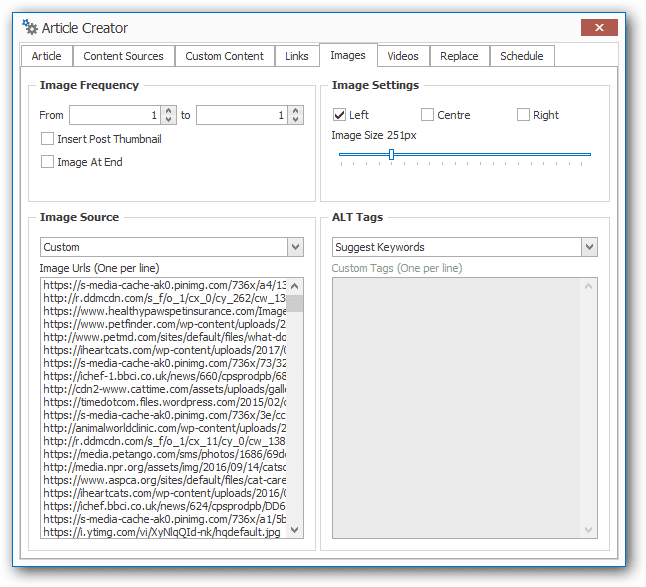
Click on the “Images” tab.
Under the “Image Source” panel, click on the drop down box and select “Custom”
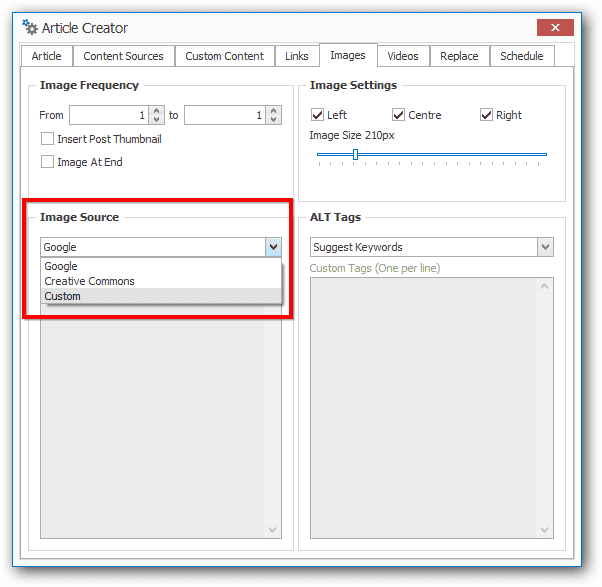
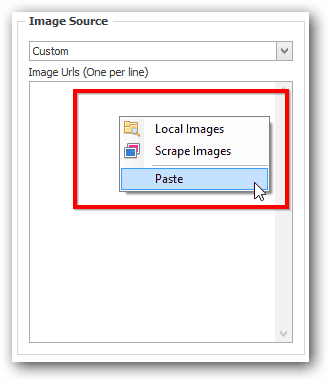
This will enable the custom Url text box, where you can paste your links to your own images.
Right click on the textbox to find the paste command.
You can also access 2 important tools here:
- Image finder
- Import images on your hard drive
The image finder is a quick way to find images for your keyword (or you can leave it up to the article creator to find it for you). This can be useful if your keyword doesn’t really return usable images in Google search, eg: Your keyword is “dentists in america”. You can instead use the generic term “dentist” to find images.
Your final settings for a custom image urls will look something like this:
Some other settings you might be interested in:
- If you are creating an article that will be used in a wordpress blog, “Post Thumbnail” checkbox will allow you to set thumbnail images for your posts.
- You can set the location of images in the post. SCM will randomly select a location.
- The image size is automatically randomized 1 -> 10px in width to keep the image unique.
Insert your own videos
SCM will use your article keywords to find relevant videos from Youtube to insert into your article.
You can customize what videos to insert.
- Use your own Youtube username
- Use a Youtube channel ID
- Insert a list of your own video embeds
Click on the “Video” tab to see these settings.
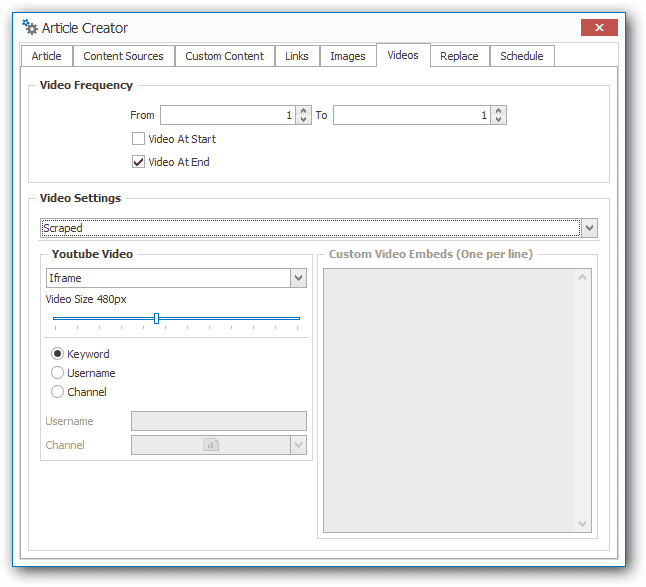
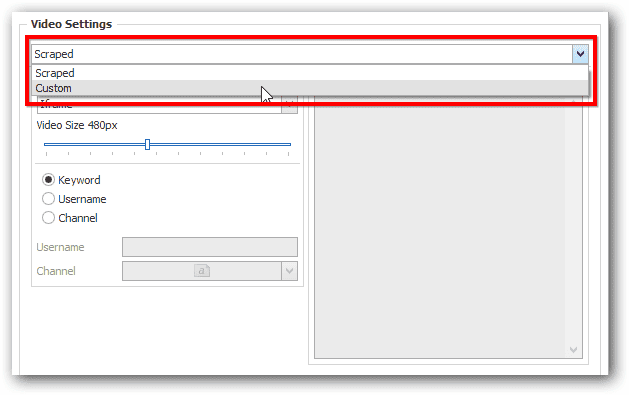
Click on the dropdown box in the “Video Settings” panel and select “Custom”.
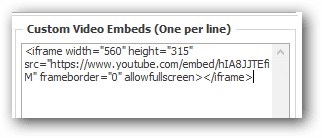
You need to insert a video embed. Eg <iframe>. You can get this from the actual youtube video.
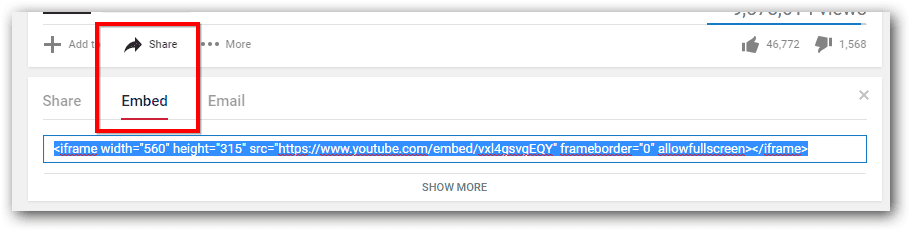
You can paste this iframe into the custom video embed box.
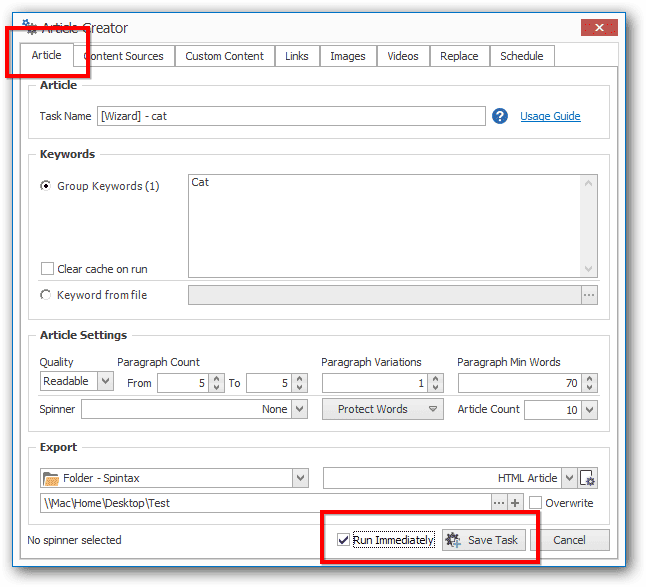
Create your article
Once all the settings have been fine tuned, you can click on “Article” tab and click on “Save Task”,
Don’t forget to check the “Run Immediately” checkbox too.
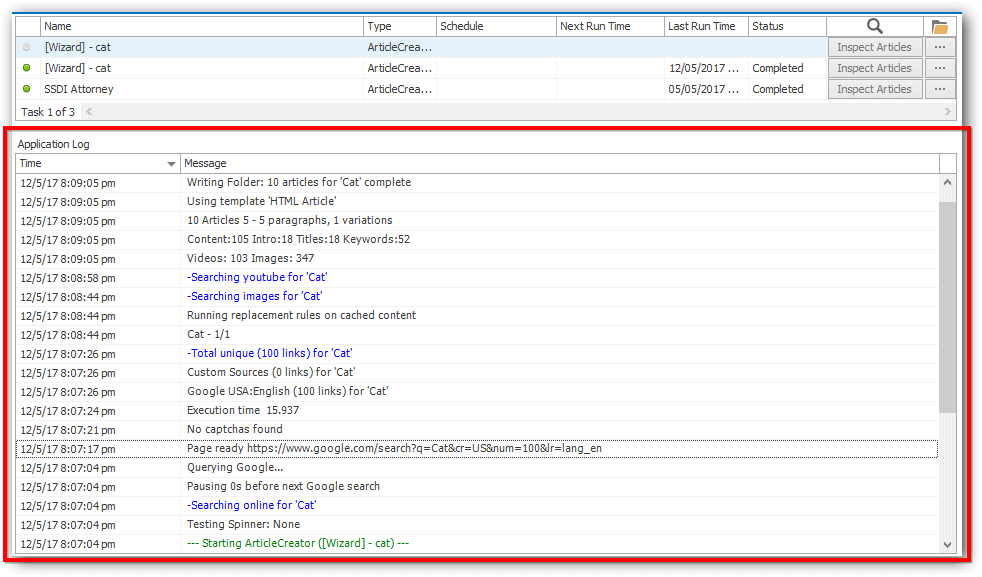
Keep an eye on the application log as the task is running.
Many times errors are warnings are logged here.
If the task creates an article with no content in it, you can read through the log to figure out what is wrong. Eg Google search returned no results etc.
If you have errors they appear in red, otherwise warnings appear in orange.
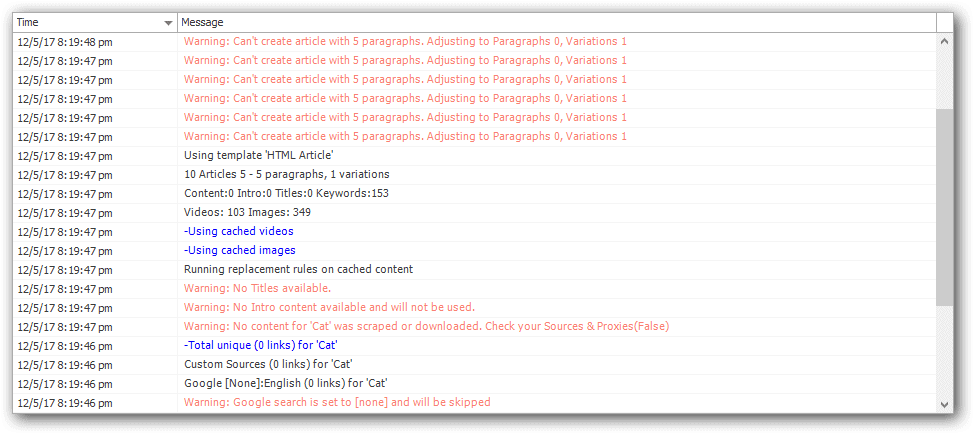
In the above image, Google was set to [none] meaning no content was found and subsequently no article could be written.
Todos artigos estão sendo criador fora de contexto, como arruma nas configurações do programa?
“All articles are being creator out of context, how do you arrange in the program settings?”
Do you mean make content more relevant?
You can use the T1 Content Creator module to pick and choose sentences.