[Guide] How to create WordPress articles with custom fields and meta tags
Using the article creator and blog poster, you can now create articles that are uploaded with custom fields and optionally with meta tag information.
This is great if:
- Custom Fields: If you need to pass any sort of information to plugins on the site, you can do this using the custom fields posting solution that SCM has.
- Meta Tags: Using a special plugin together with SCM custom fields posting, you can now even set your meta description and keyword tags automatically.
The steps required to create WP articles with custom field and meta tag support is roughly.
- Create article template with custom fields XML in it.
- Import the article using SCM “Post Import” tool so that it can process custom fields for you.
- Post the article (SCM will ensure custom fields are set)
- If you want to write meta tags, install the optional SCM wordpress plugin called “Custom Fields To Meta Tags“
Custom fields article template
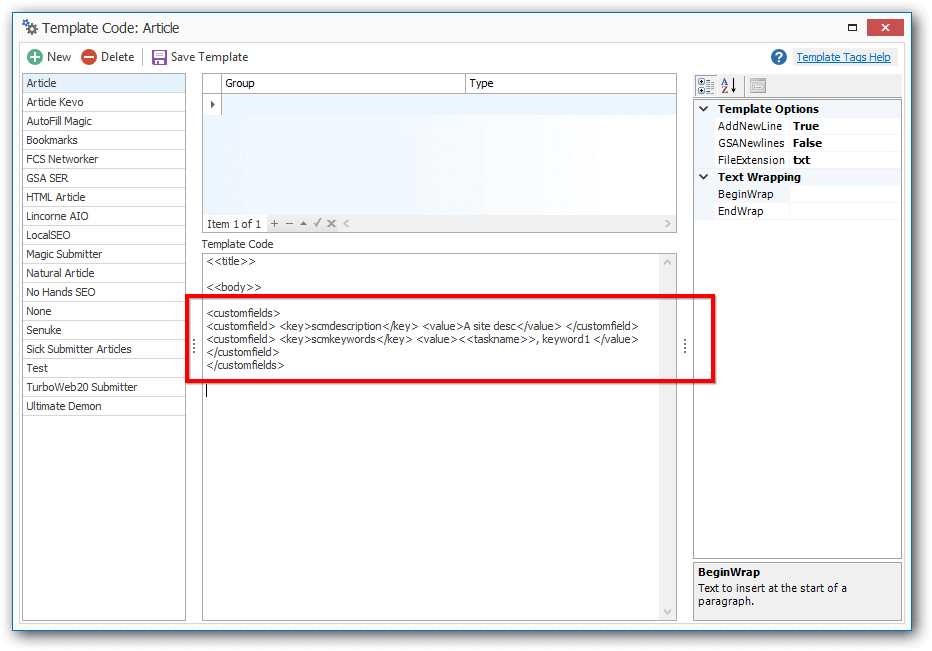
The first step is to create an article template that will generate the special code needed to pass custom fields data.
The code is a simple XML document, that looks and functions like HTML Tags.
Here is an example.
<customfields>
<customfield> <key>scmdescription</key> <value>A site desc</value> </customfield>
<customfield> <key>scmkeywords</key> <value><<taskname>>, keyword1 </value> </customfield>
</customfields>
Create or edit an existing template and paste the above code in.
The keys “scmdescription” and “scmkeywords” are special keys that will later be used by the “Custom Fields To Meta Tag” WP plugin to create meta tags.
Customize as required, the code above supports spintax and template codes such as <<body>>.
As long as you have “Key” and “Value”, you can pass any data into as a custom field into your WordPress blog.
All you have to do now is create your articles using your new article template with the custom fields xml data in the file.
Make sure you create the articles as files on your hard drive.
Importing your posts with custom fields
The next step is to import the created articles into your blogs using SCM.
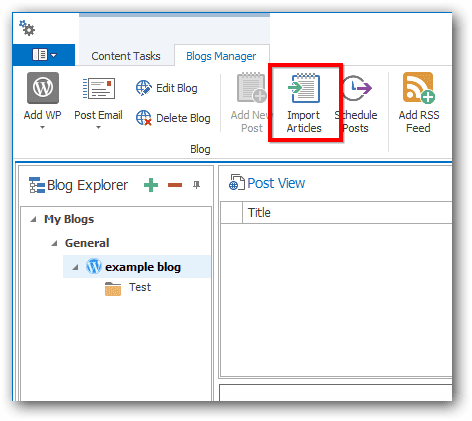 The import window will now open.
Select the location of the article text files.
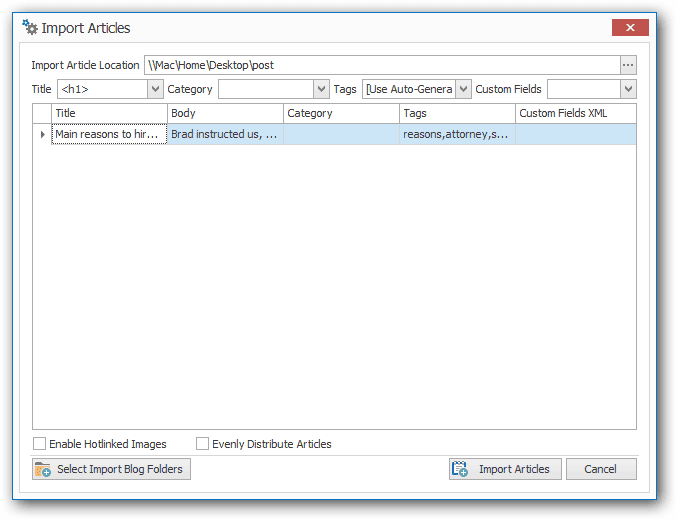
The tool will try to auto-detect content.
For custom fields, you click on the “Custom Fields” dropdown box and select “customfields”.
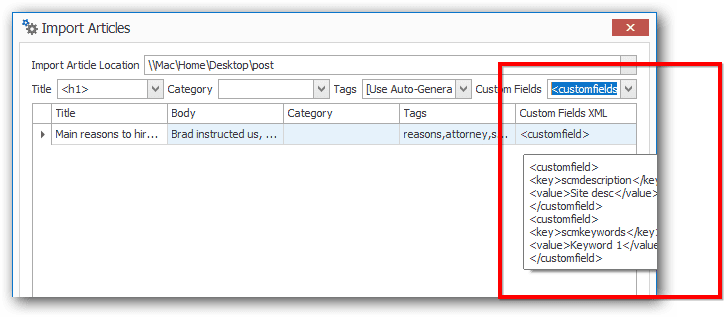
Detection works if the custom fields XML column contains the XML string. If you mouse over the column, you can see the imported XML string.
Basically, what the import tool does is it looks for content wrapped in HTML tags.
Eg: <h1>Title</h1>, setting the title drop down box to “h1” will mean the title is read from that HTML tag.
Import the posts.
Post the article
Once the articles have been imported into the SCM blog manager, you can use it to post the article.
There are many ways to post and schedule articles, below we just use the simple “post” button.
Before posting you can verify that the custom fields is imported correctly by clicking on the text box here.
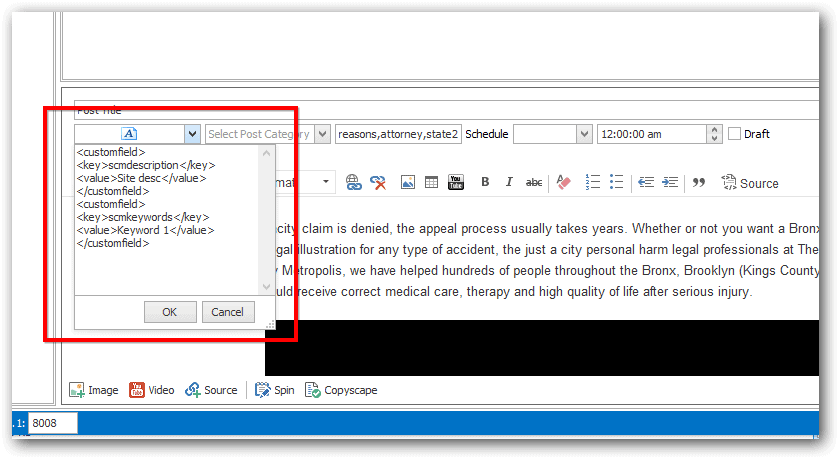
You can also make any final adjustments if needed.
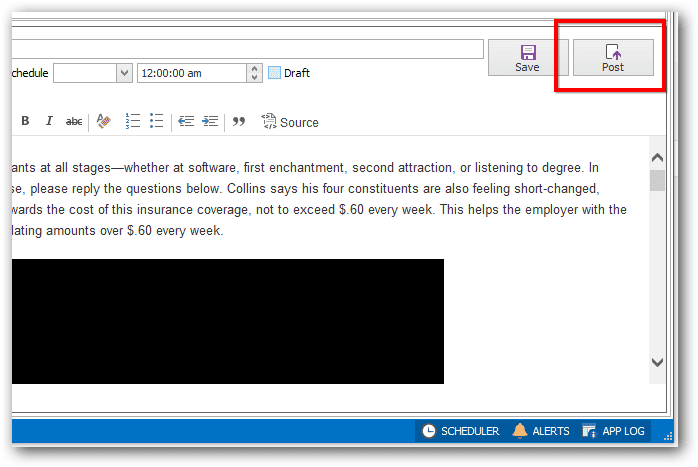
Hit the POST button to upload the post to your blog.
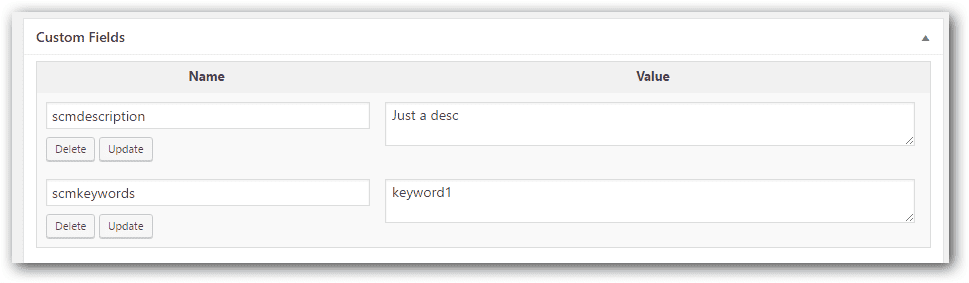
If all steps was followed correctly, you can edit the post in your wordpress blog and verify the data in the custom fields area.
Custom Fields to Meta Tags
Make sure you install the plugin first.
Any custom field in your article that starts with “scm” will be converted into a meta tag for you automatically.
Custom Field
Key = scmdescription
Value = Just a des
Output Tag
