You can create an automated PBN using all the scraping, generation and posting tools inside SCM.
For example, you can build your own PBN news network by following 3 steps:
- Download news from a site
- Summarise the news using an AI model
- Post the news summary to a WordPress blog
Once the 3 steps are running properly, we can chain them to run as one giant task and put it on a repeat schedule, eg run hourly.
Some problems we will tackle in this workflow:
- How to get articles from a news site and remove unwanted text
- How to write an AI prompt that will summarise the downloaded content
- How to post those files to a WordPress Blog without worrying about duplicate titles
Download content from a news site
There are many different ways to download content from a website.
The easiest way to download the newest content is via a site RSS feed or sitemap XML.
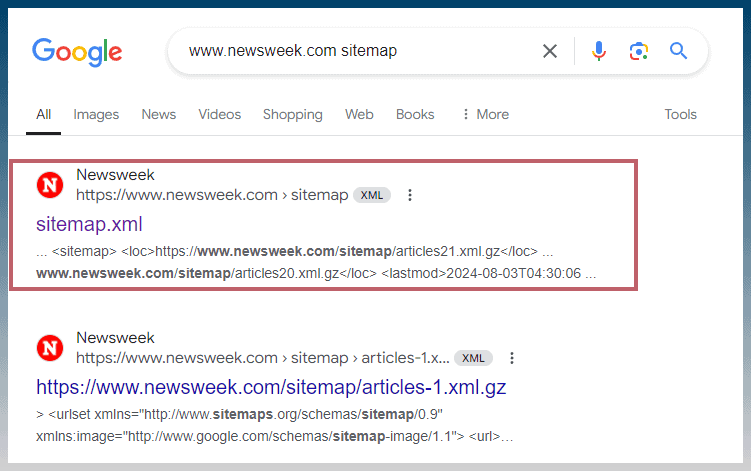
Example: https://www.newsweek.com
Do a Google search for “www.newsweek.com rss”

” www.newsweek.com sitemap”
You can use:
https://www.newsweek.com/rss
or
https://www.newsweek.com/sitemap.xml
Today we will use the sitemap.xml.
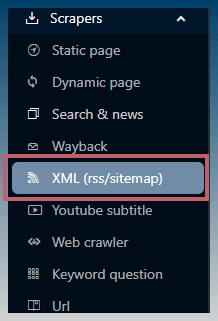
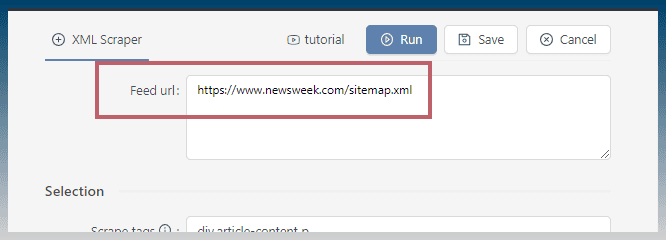
The tool for downloading from any XML url is the XML (rss/sitemap) tool.
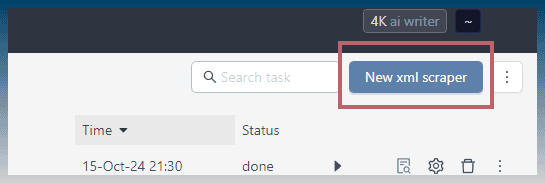
Create a new XML task
Paste in the sitemap.xml
Review the content selection rules.
The most important is ‘scrape tags'.

SCM uses CSS selectors to pick content on a page.
By default the tool will download all the h2 and p tags on the page.
By visiting the site and exploring with devtools (F12) we can find a more accurate selector.
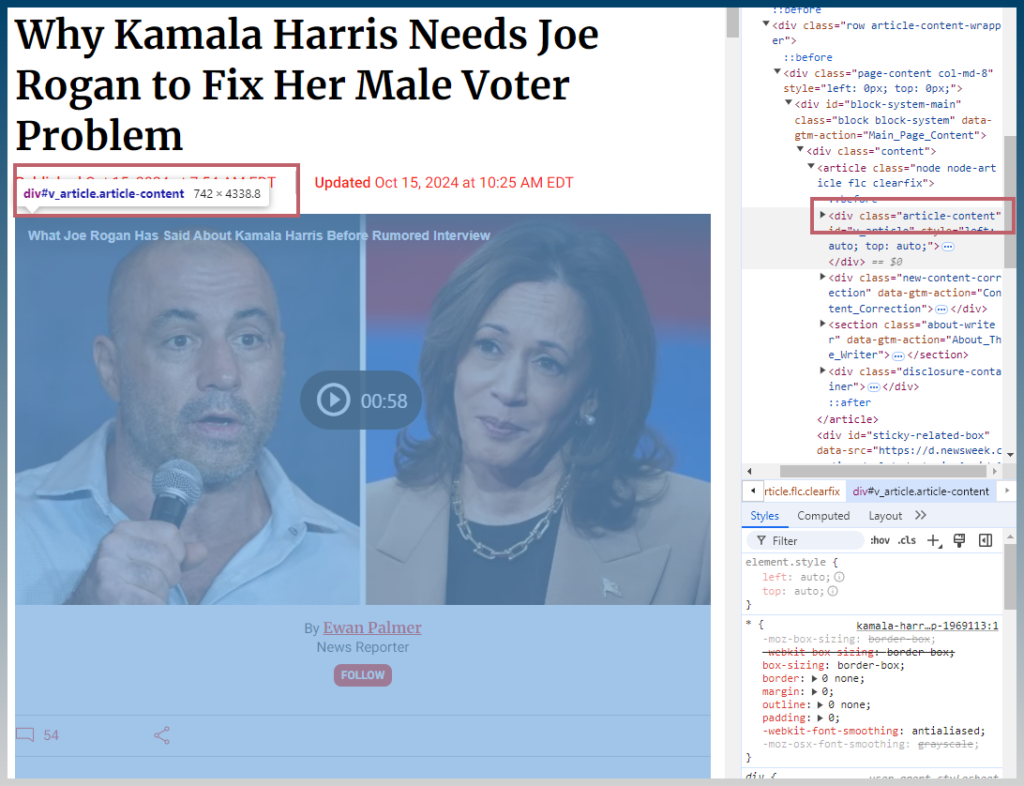
Use ‘div.article-content p' to just grab article content.

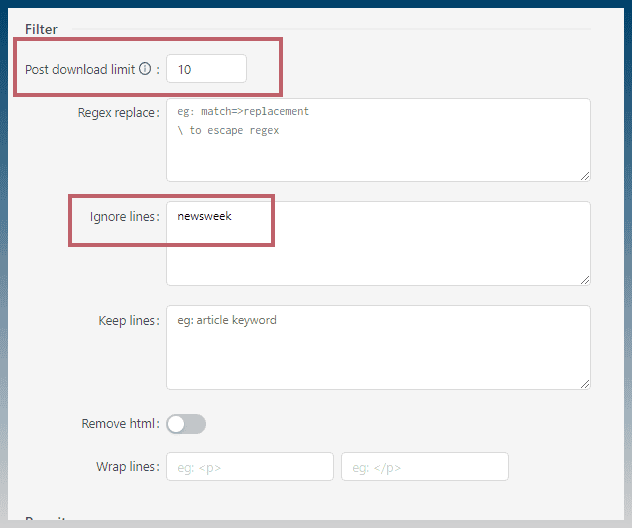
In the filter section,
Limit the number of article downloads. The default is 10.
Use ignore lines to remove content mentioning ‘newsweek'.
This removes unwanted content such as site disclaimers etc.
Run the task.

You can check the output of the task to refine the content selection and content filtering.
Using the site map returns all the posts on the site.

With such a large number, we save time by only downloading the first 10 articles.
Hover over the preview icon to find the ‘copy path' menu.

We will use copy path later in the article creator.
Summarise the news using an AI model
Now that we have the content we want to summarise on our hard drive we can move onto the next step.
Copy the output path of the XML scraper so that its in the clipboard. We will need it later.

Create a new article creator task.
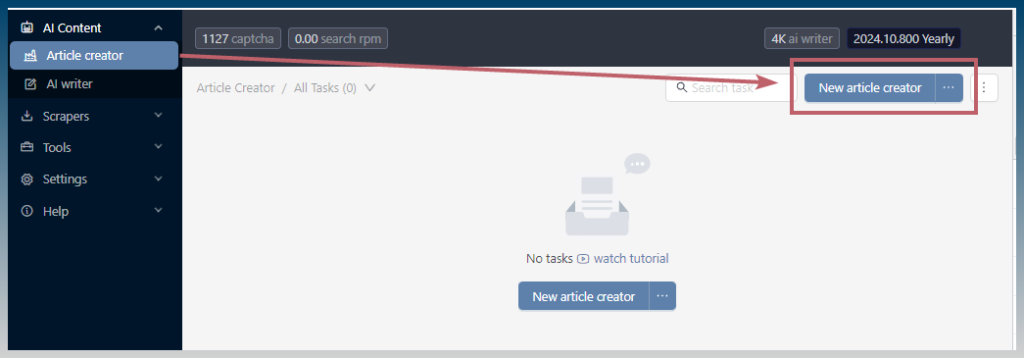
Enable the AI articles generator. (if not enabled)
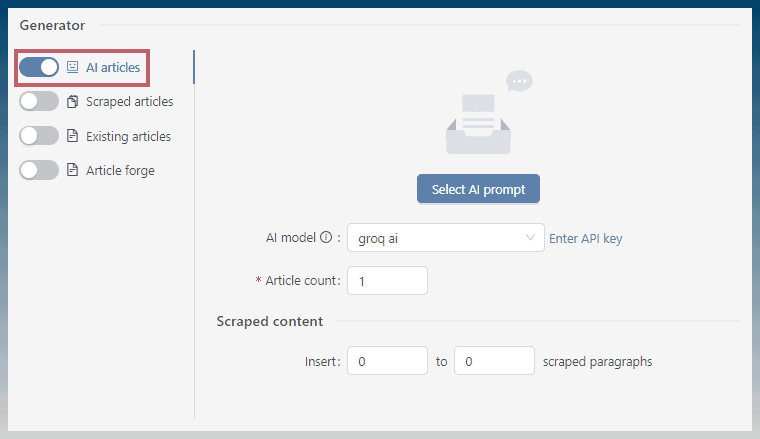
We can write our own AI prompts but it is easier to pre-select ones that are included with SCM.
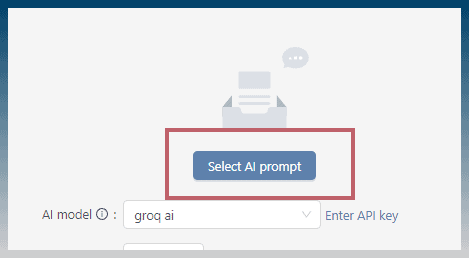
Click ‘select AI prompt'
Select ‘Article: RAG, rewrite articles‘ template
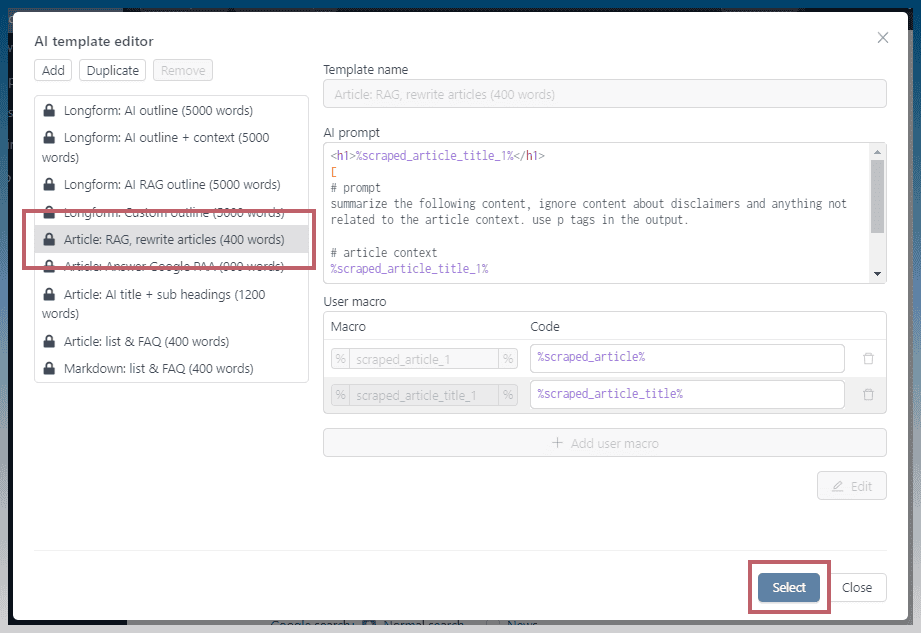
Click select to load the template.
The AI prompts are loaded.
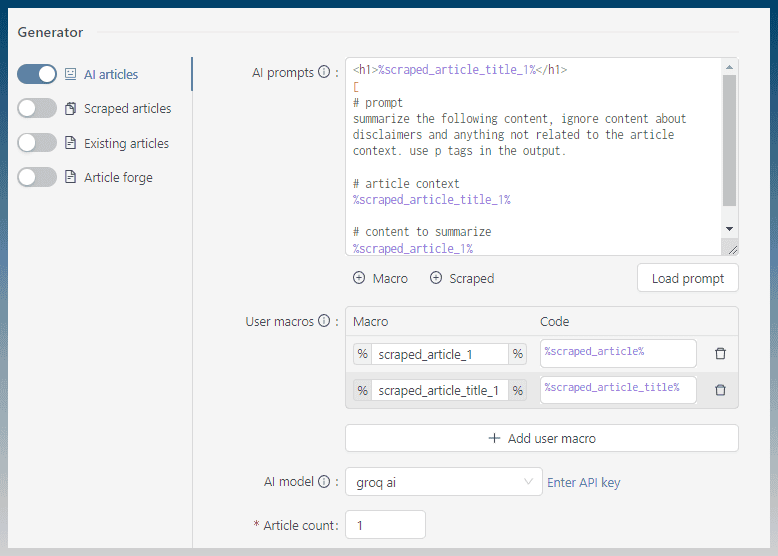
How it works:
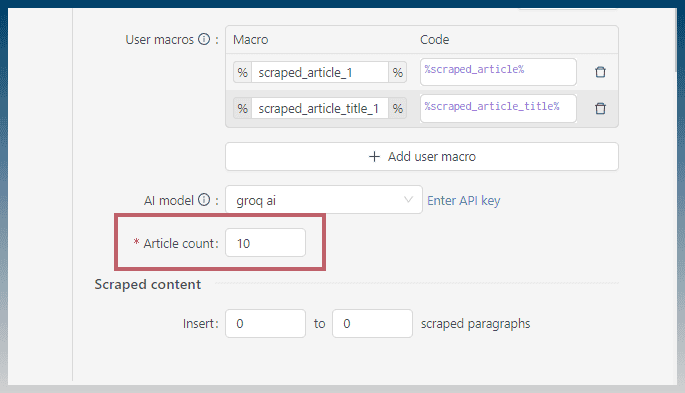
- 1 article is loaded into the macros %scraped_article_1% and %scraped_article_title_1%.
- We load them into user macros so that we can copy the output of 1 article into a re-usable macro.
- Using %scraped_article% directly is possible, but each time it is used in our prompt it refers to a different article.
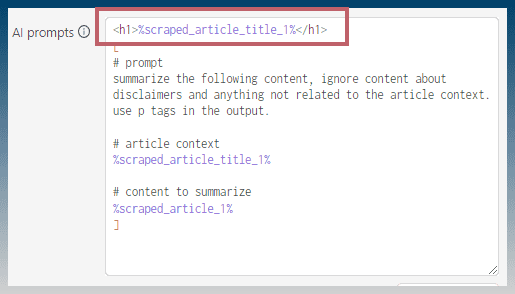
- We create one <h1> by using the %scraped_article_title_1% macro
- We have a prompt to asks the AI to summarise the entire article provided inside the %scraped_article_1% macro
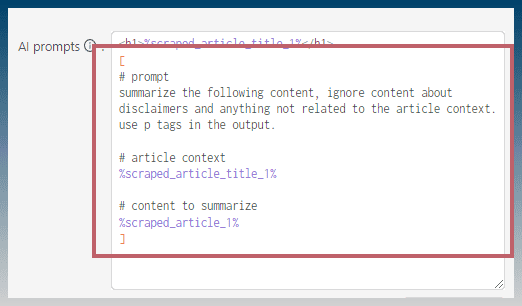
This prompt will run for each scraped article in our downloaded folder of articles.
We need to tell SCM how many articles it is expecting in the folder.
In this example it is 10.
Now lets tell the task where those articles are.
Scroll down to content sources.
Set SERP result limit to 0.
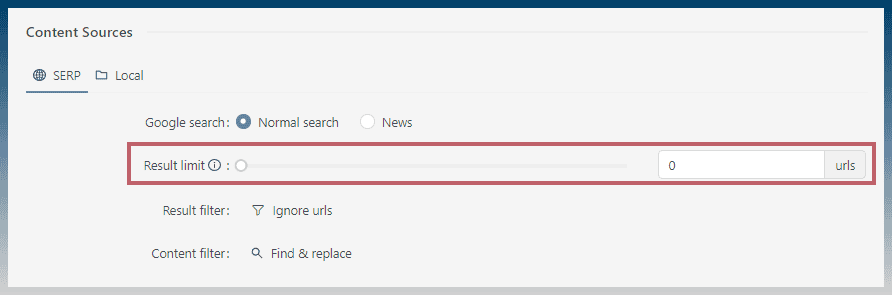
We do this because we are only using content that is on our hard drive.
Setting this to 0 saves time from not having to scrape articles from Google.
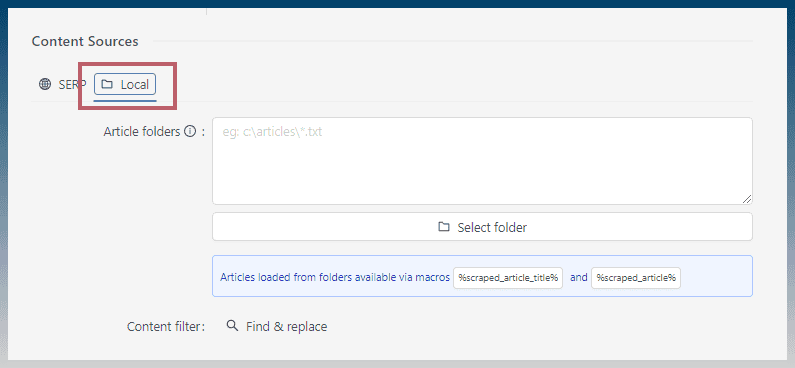
Click on ‘local'
We need to provide the folder path of the articles we want to rewrite.
Paste in the output folder of the sitemap/rss articles from the previous task.
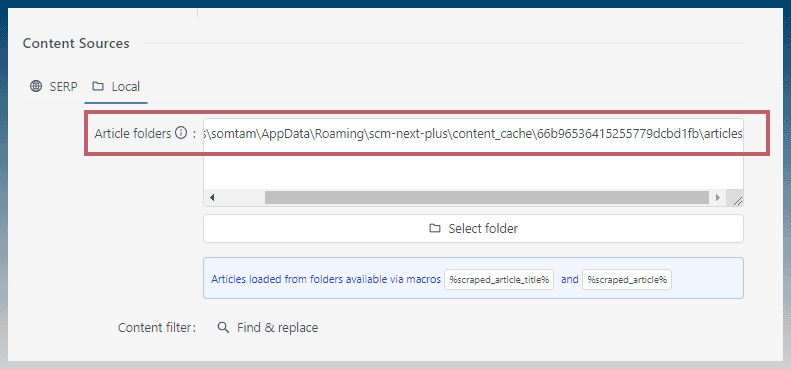
You can click ‘select folder' as well to select any other folder that contains txt files.
Go to export, click on WordPress

We will be posting these articles as well.
The task is ready to run.
To recap:
- Create article creator task
- Under AI articles, click on load prompt
- Select the RAG, rewrite article template
- Enter number of articles to process
- Go to content sources, click local
- Paste in folder path of our downloaded articles
- Enable WordPress export
Click Run!
The task log shows what is being done.

Don't worry if you see the following error.
Out of articles.

It just means that you entered in more articles to process than exists in the folder.
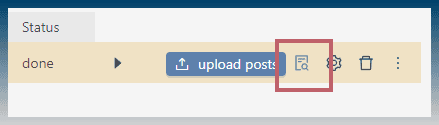
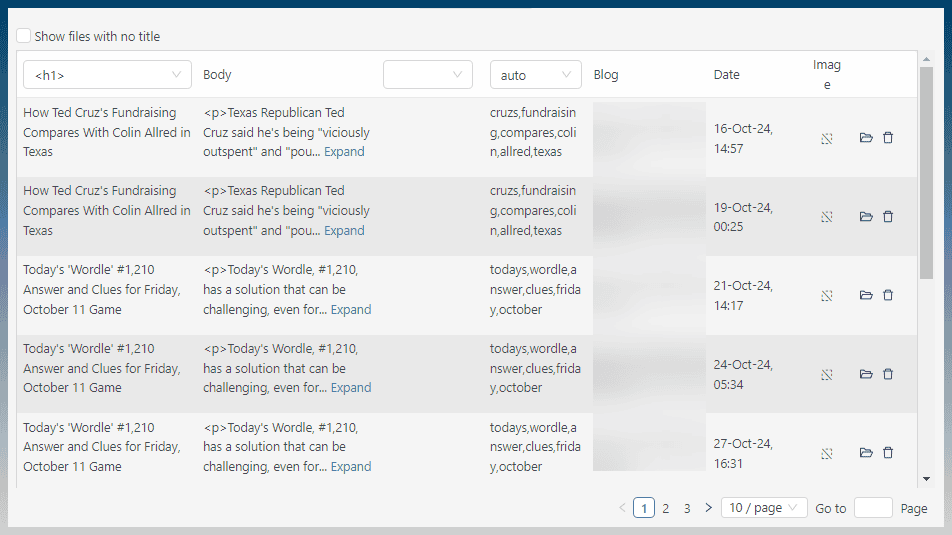
Click on the blue preview icon to see the summarised articles.
The article with a HTML preview is displayed.
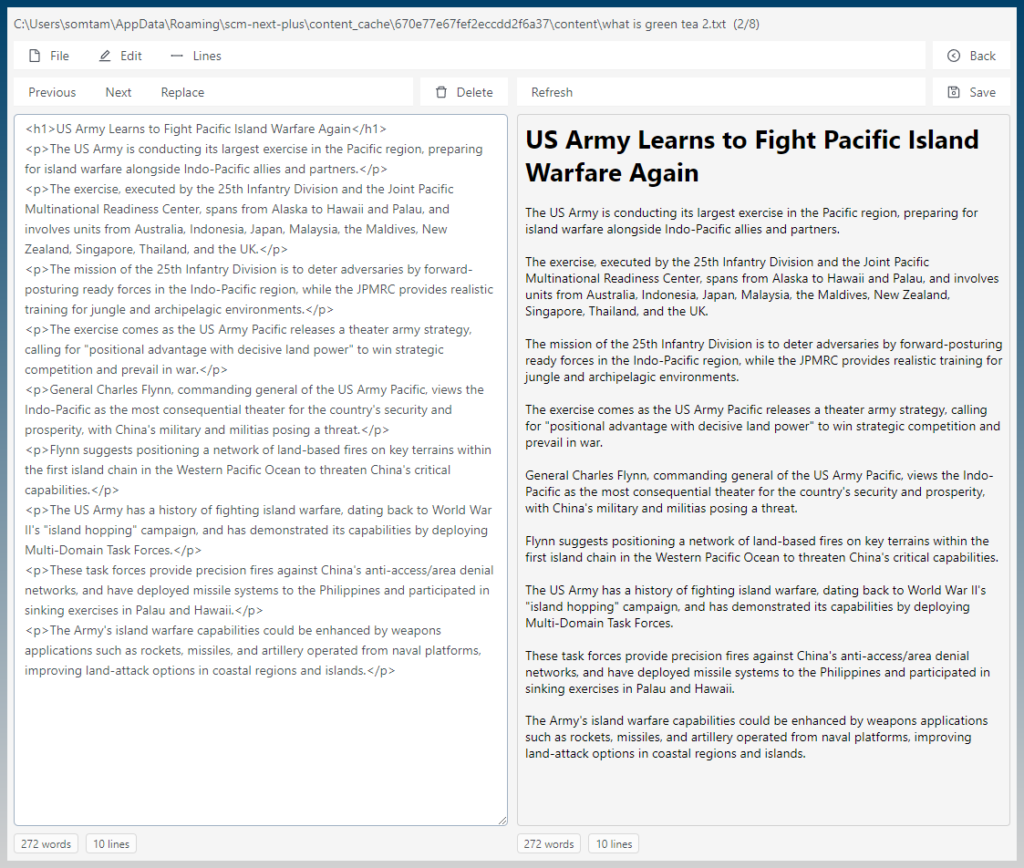
Now we have our re-written articles ready to post.
Post to a WordPress Blog
As we selected export WordPress, we have a ‘upload post' button available.

Click upload post.
Article location has been pre-filled.
Click, select blogs.
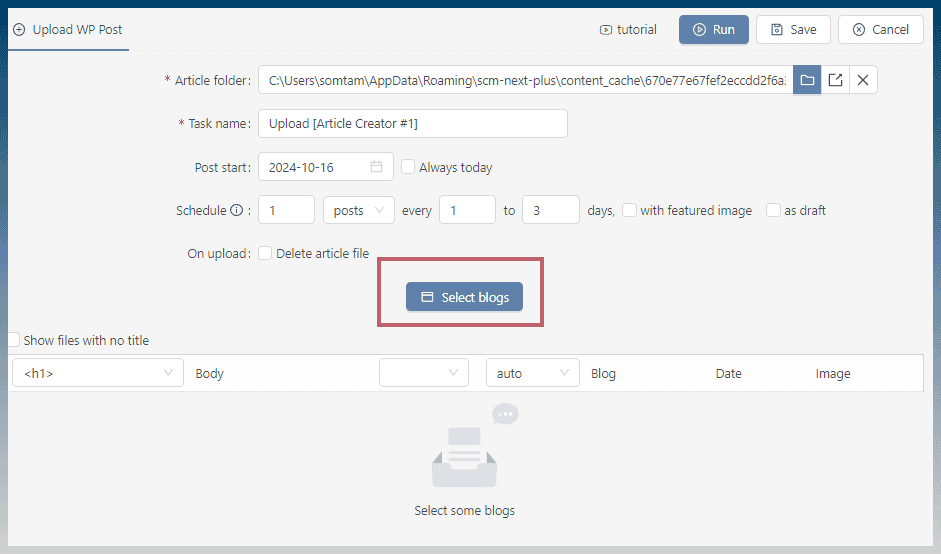
Select target blogs.

or add your blogs.

Posts that can be uploaded are shown.
Click run to start posting.

Automate it
Now we can automate all 3 tasks to run on schedule.
To do this we will:
- Set sitemap.xml scraper to run hourly
- On completion, set sitemap.xml task to auto start article creator task
- On completion, set article creator task to start post uploader
Inside the XML sitemap scraper task.
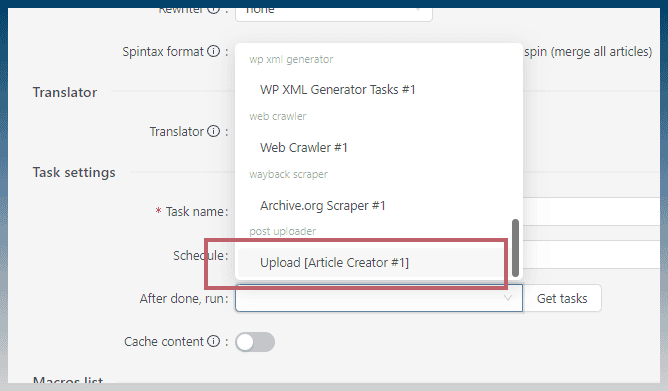
Go to task settings, click get tasks
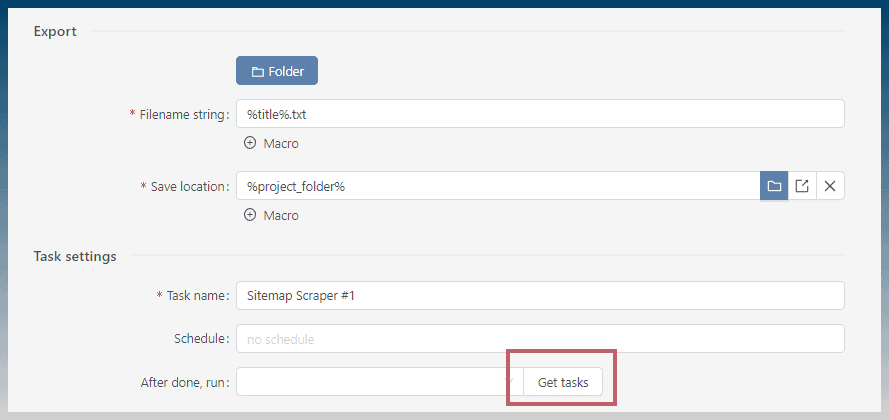
Click dropdown, select article creator task that uses AI to rewrite the output.

Now the sitemap.xml task will auto run our article creator task.

Open the article creator task.
Once again, go to task settings.
Click get tasks.
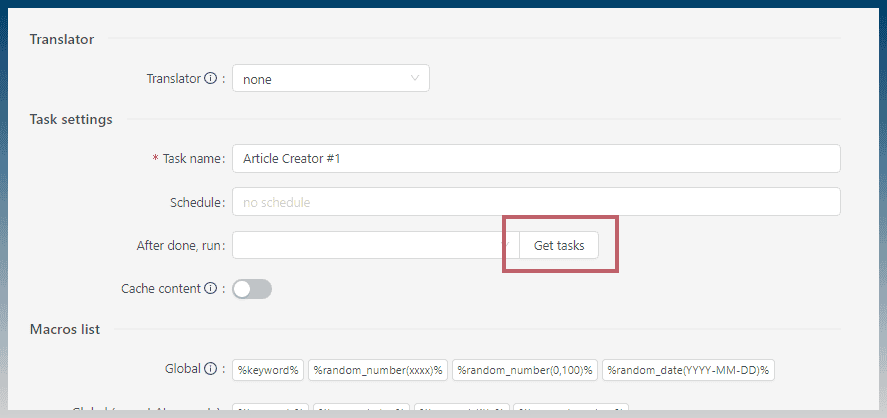
Select the correct post upload task.
Upload eg: [Article Creator #1]
The name will change depending on the original article creator task name.
Now the article creator will auto post.

When you start the sitemap.xml task, it will auto start all the other 2 tasks for you.
If you want to schedule the sitemap.xml task.
Open the task.
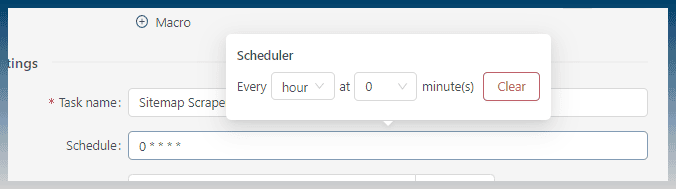
Find task settings, schedule.
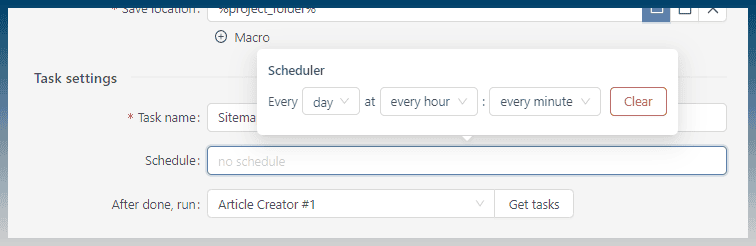
Set a schedule, eg hourly
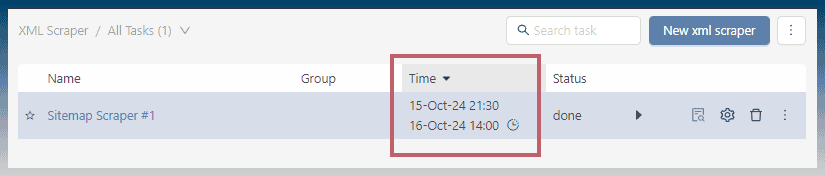
Save the task.
Under time, a schedule time appears.
Project Templates
Both the sitemap scraper and article task has been exported below.
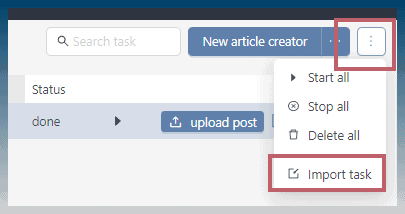
After you download the template zip file, extract it and import the 2 project files.
Import task located in the hamburger menu.