How to create wordpress posts with imported images
With SCM you can create html pages or WordPress posts using articles and a folder of images.
The images are inserted randomly within your article. You can even set that one image is the featured image for the post.
This is an easy way of importing a set of articles already on your hard drive, then adding images to them (you can also add video and other custom content) and posting them up on WordPress.
This is how you do it:
1. Add your WordPress blog to SCM
In order for you to use your images on your hard drive properly you must use SCM to post the articles to your WP blog.
SCM will upload the images on your hard drive to your blog.
Note: Not using SCM and just copy-pasting in the HTML will leave image src values with filenames pointing to your hard drive!
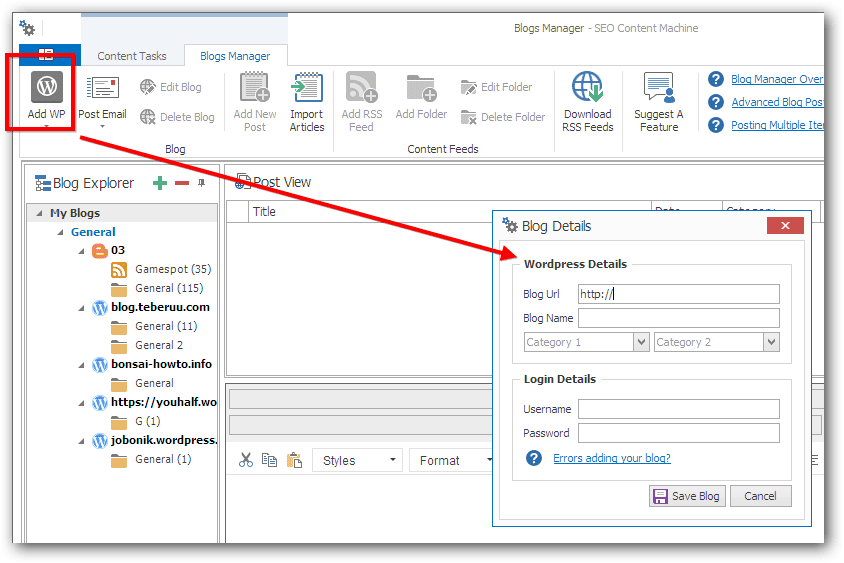
First go to blogs manager and add your WP blog.
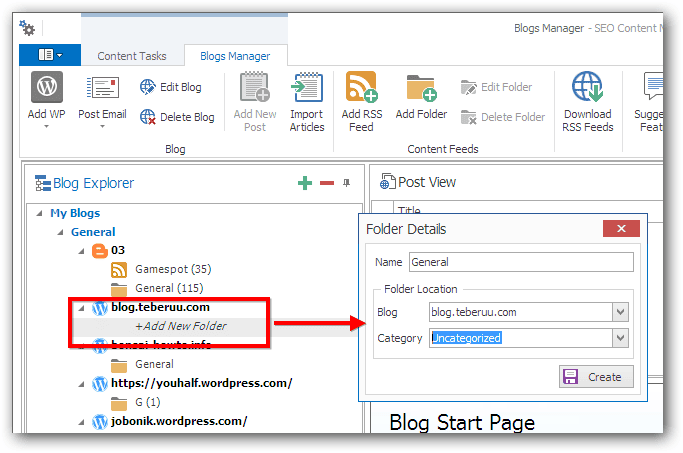
Then add a folder to store all your articles.
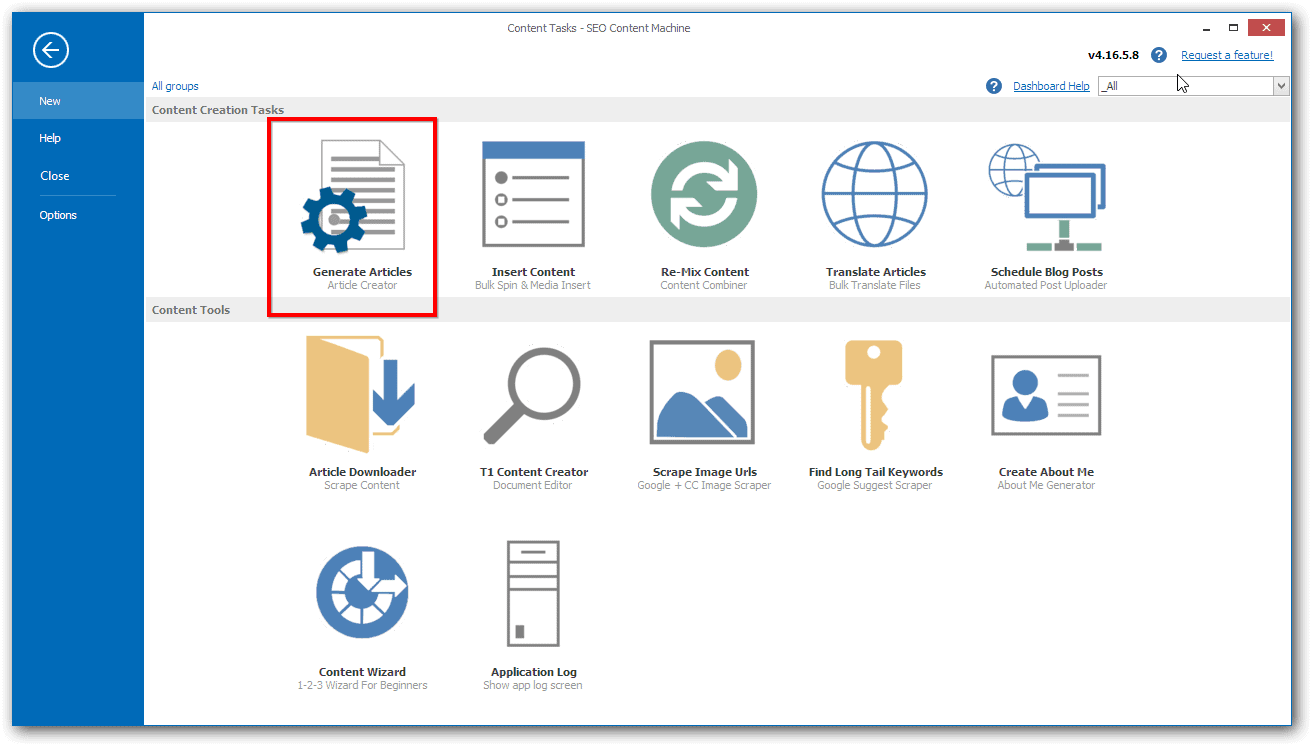
2. Use the Article Creator to insert images into your articles
First go back to the main app menu, then click on the article generator tool.
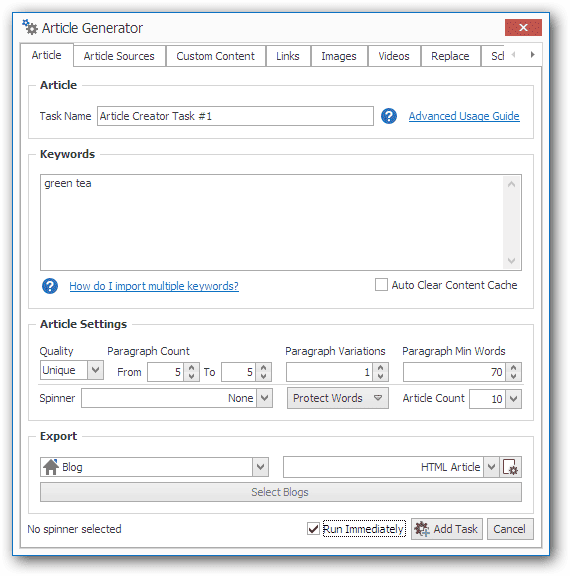
The first page of the article creator. It is important that you:
- Enter keyword of your articles, this is used to generate alt-tags for you later
- Set export to Blog -> Select and tick the folder that you created before as destination of the articles
- Set export type to HTML
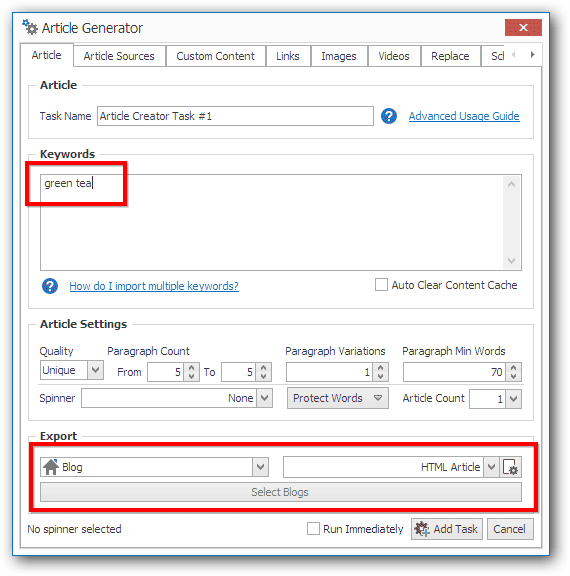
Image importing
This is where we tell SCM where our images are located and how many we should insert into each article.
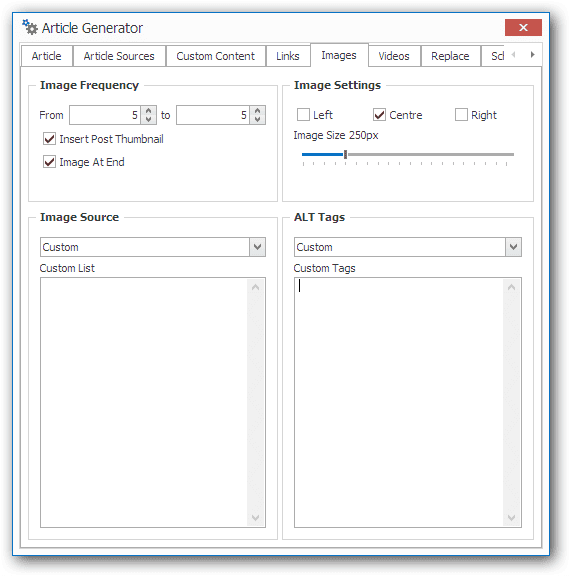
Notable settings when inserting images are:
- You can set a random count of images to insert
- You can set one image to be the post thumbnail/featured image
- You can change the width of the image and its alignment
- If you want to insert local images, set the image source to “custom” then right click on the text box to show menu with item “local images”
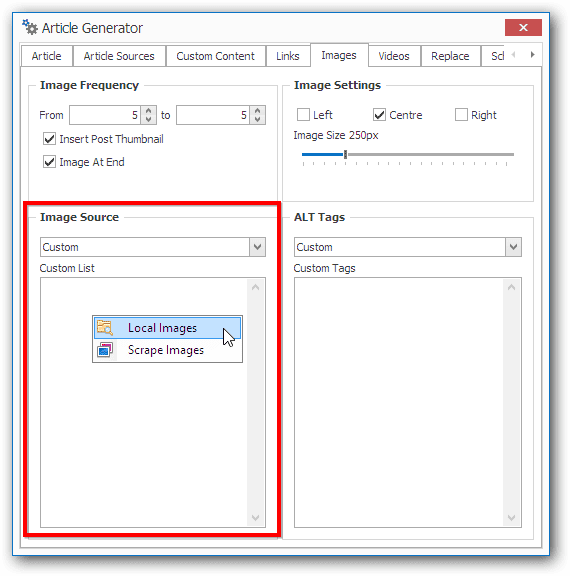
- Once you select the folder images are in, you will see the file locations in the text box.
- You can add your own custom alt tags, otherwise you can let SCM scrape some for you.
Article Source
You can let SCM generate some content for you, but lets assume that you have a ready made bunch of articles sitting on your desktop.
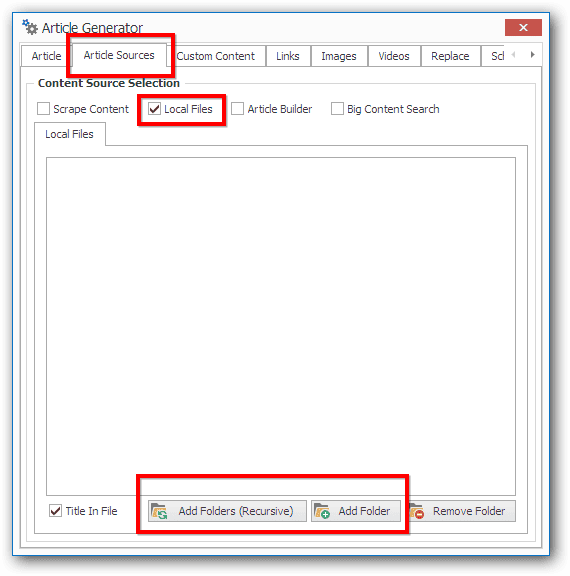
Go to the “article sources” tab, and check “local files”.
Remember to uncheck “scrape content” if you don't want the article creator to scrape content.
Run the task
Go back to the first tab, double check all your settings then select ‘run immediately' and click on ‘add task' to have it run.
Completion
Navigate back to the ‘blog manager' you can inspect the articles that were created.
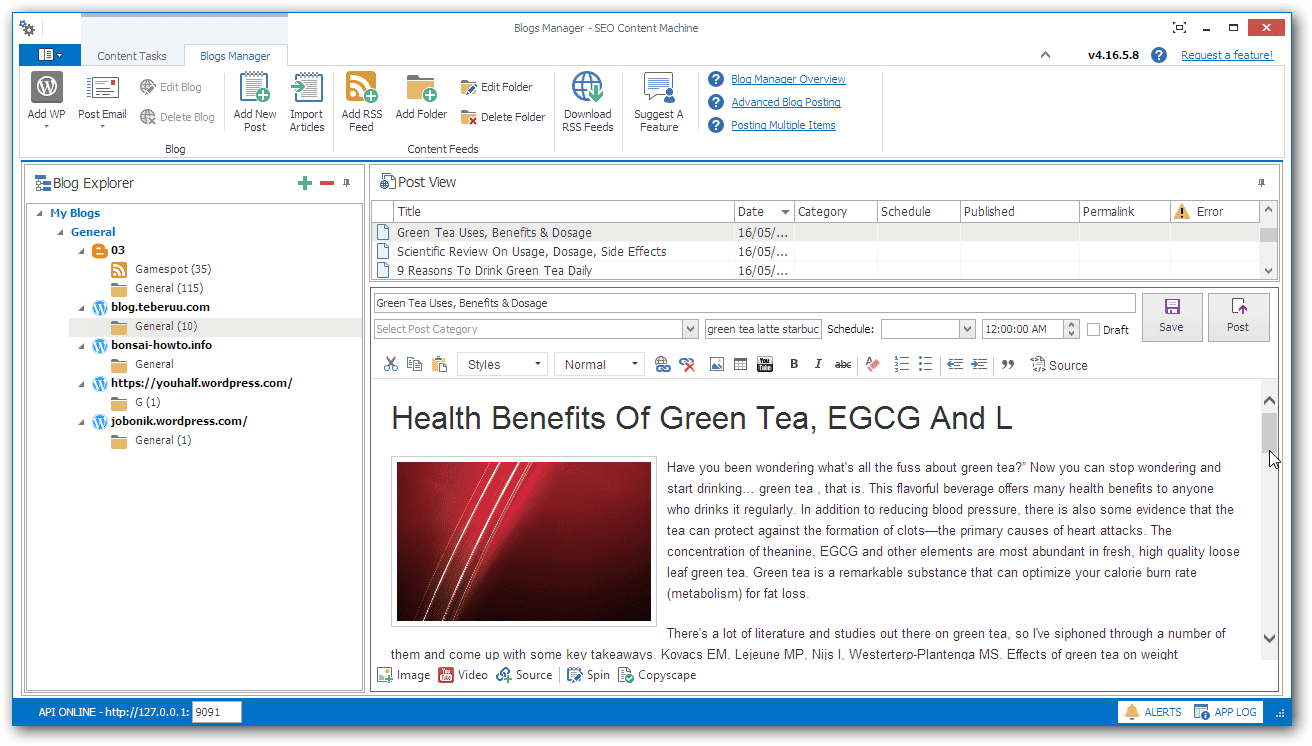
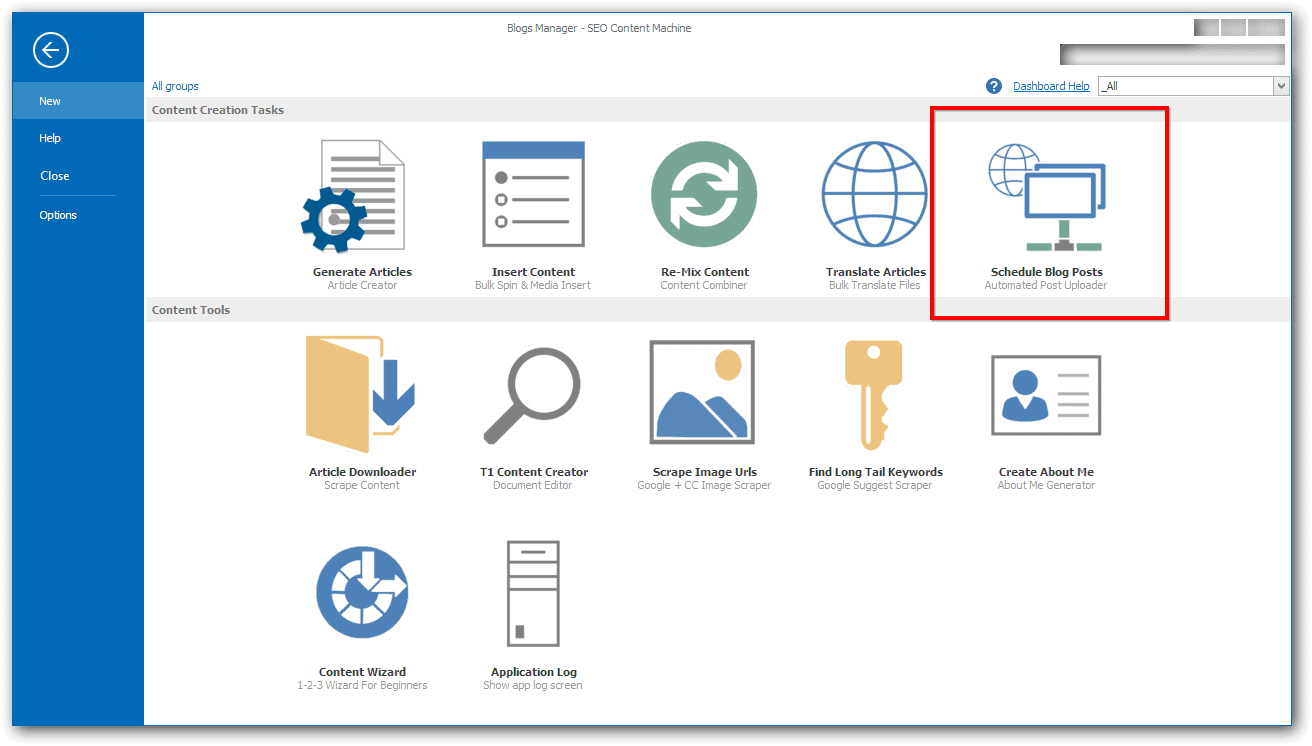
If you want to post them to your blog, you can schedule it by using the “schedule blog posts” tool located in the app menu.