Here is how you can generate articles for your WordPress blog with SEO Content Machine and have it add automatically add relevant images.
For example, you can add 2 to 3 images per post with images that are generated with AI or downloaded from an online source.
And yes, it is even possible to take images from a folder on your computer and add them to the post.
This is how you can do it.
Generate an AI article using SCM
Create a new Article Creator task
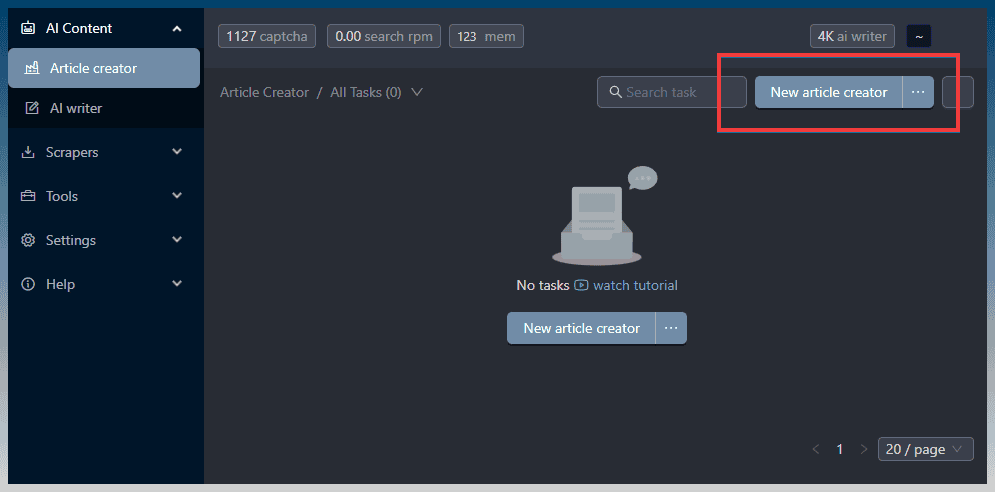
Enter a keyword for the article
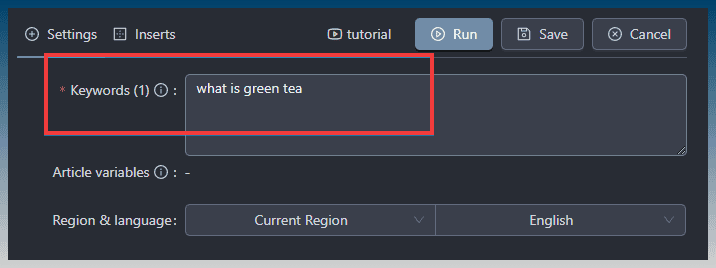
Enable AI articles
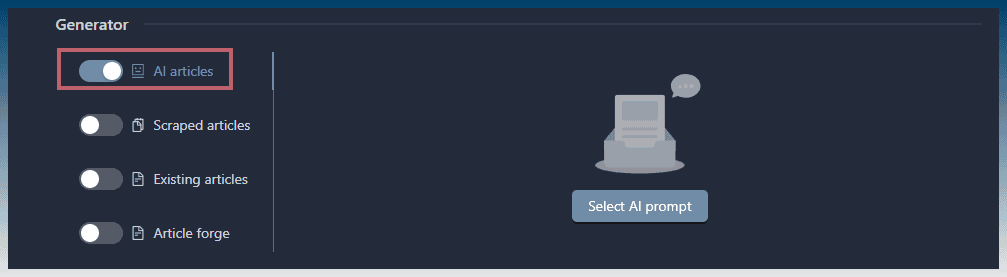
Load an existing AI prompt template to get going quickly
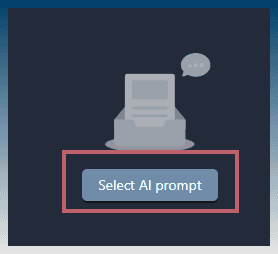
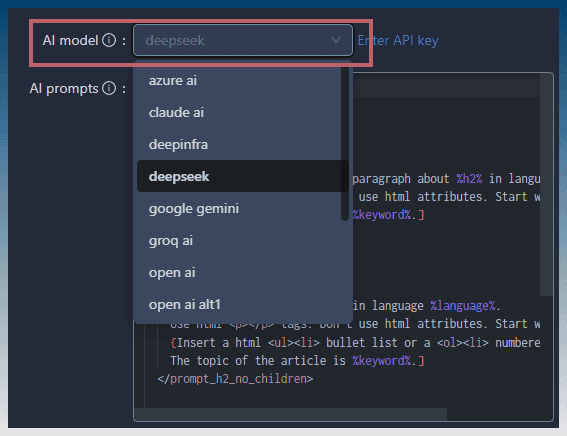
Click select AI prompt
Choose a template for the type of article you want to create
For long articles, AI outline
For short articles, article with list and faq
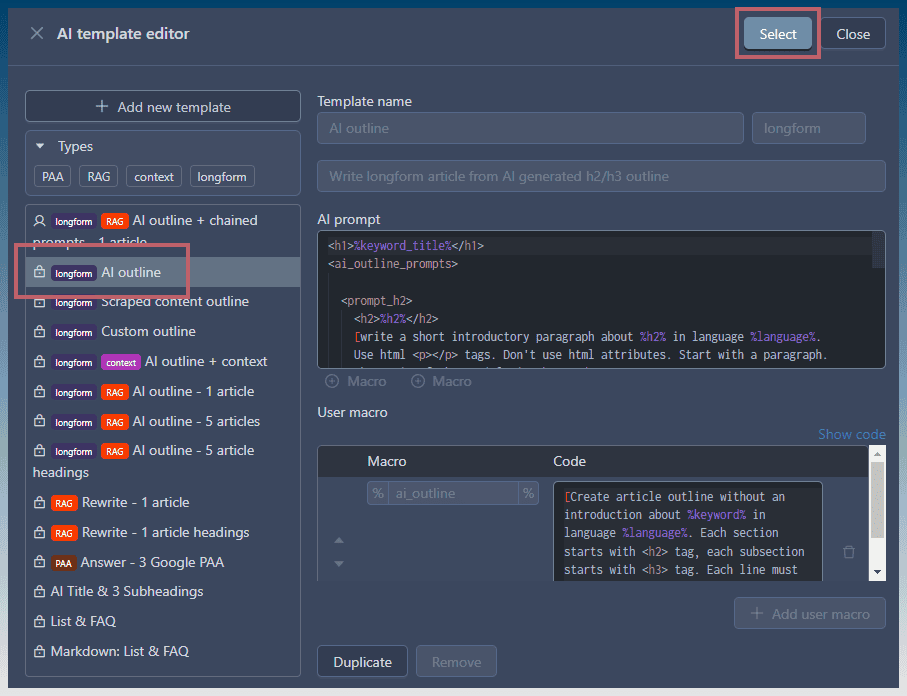
Click select to load the AI prompt
Done correctly, prompt is loaded into the AI articles section.
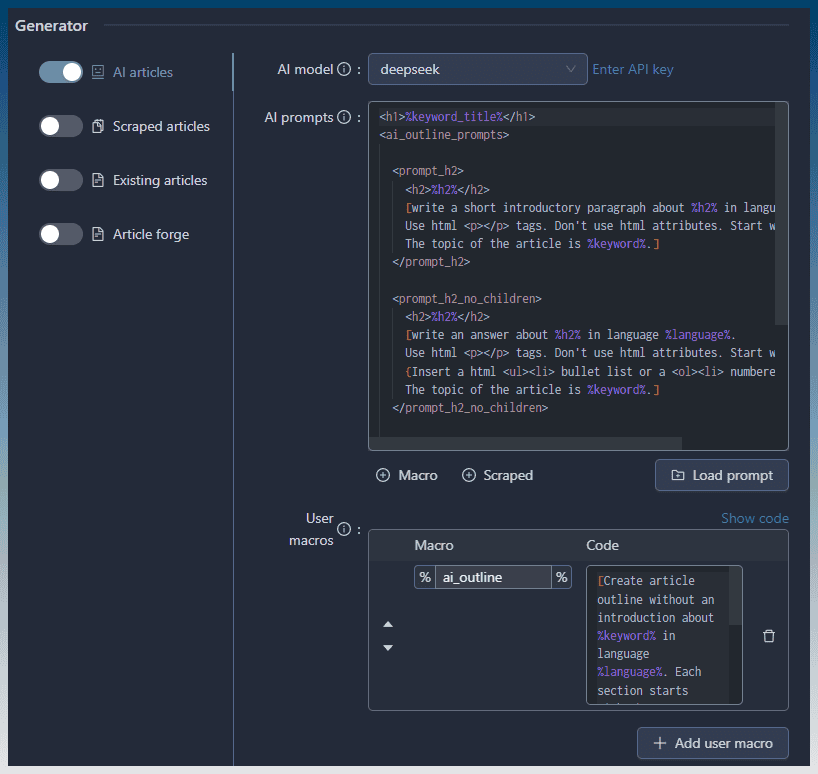
Verify, AI model
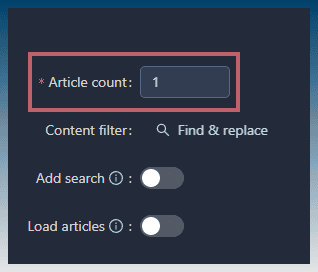
Select how many articles to create
The main settings for creating the article is complete
Now, about images…
Add AI generated images or scraped images
SCM can automatically generate AI images, or download them from an online source using the article keyword.
Switch to the inserts tab
Enable image
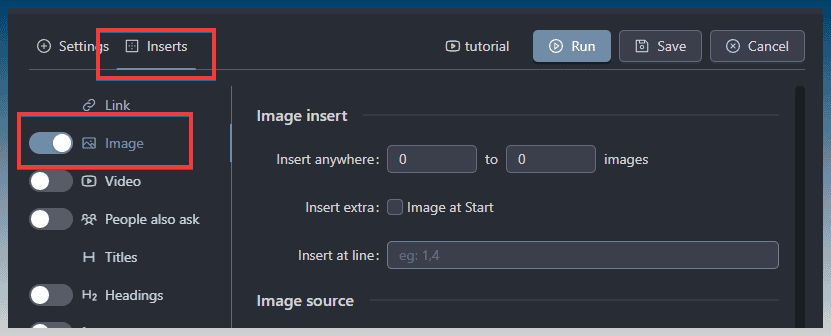
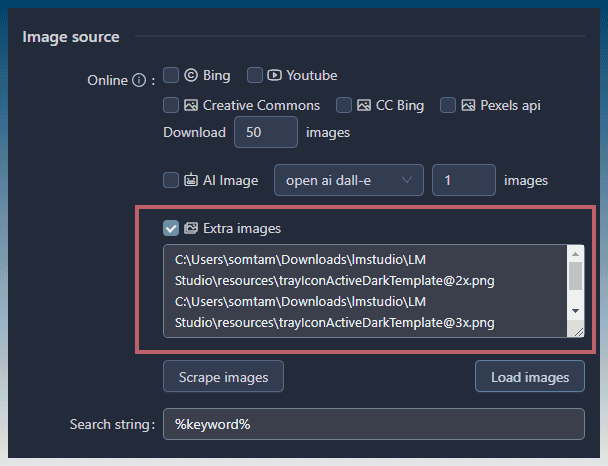
Find the image source section
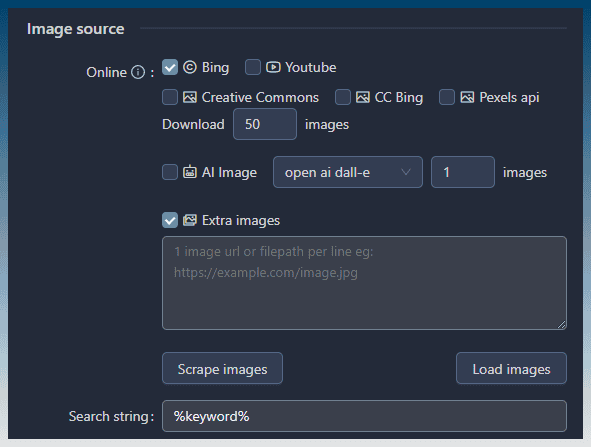
For images downloaded online, you can choose from a bunch of choices.
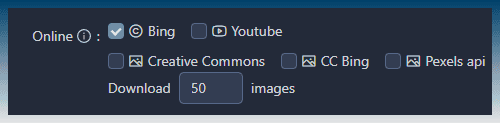
The first choices are Bing and Youtube.
The 2nd line choices are copyright free images from Creative Commons site, creative commons Bing search or via Pexels API.
The default is to download 50 images.
You can lower this number to save time downloading images to your hard drive.
If you want AI images, check the source AI box.
SCM supports dall-e or stable diffusion.

To choose a different AI image service, just click on the drop down.
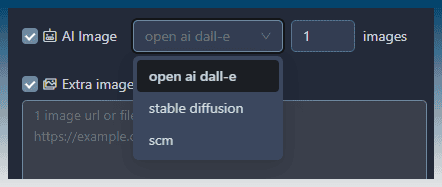
You can also switch dall-e model version inside Settings > api logins > AI image

SCM will automatically generate an AI image using the article keyword.
Add images already on your hard drive
If you have images on your hard drive, you can insert them into your articles.
Enable ‘extra images'
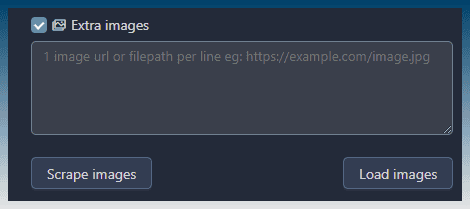
Click ‘Load images'
Select a folder where your images are located.
SCM will use each image one at a time in order they are found inside the image folder.
You can use this preserved order to insert different images into multiple different articles.
EG if you have 2 article keywords, SCM will use the first found image for keyword 1 and the next keyword image for keyword 2.
SCM remembers the last used image.
Select image locations
Verify the image insert settings.
Your options are to insert images randomly.
Insert one image at the start of the article (useful if you want to set it as a featured image later).
Insert at an arbitrary line count position, eg Always have an image 4 paragraphs down.

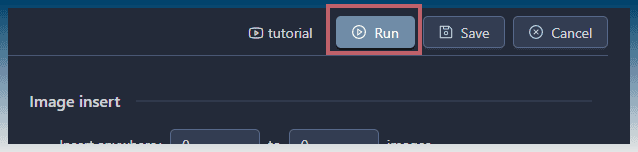
The image setup is complete, just click run!'
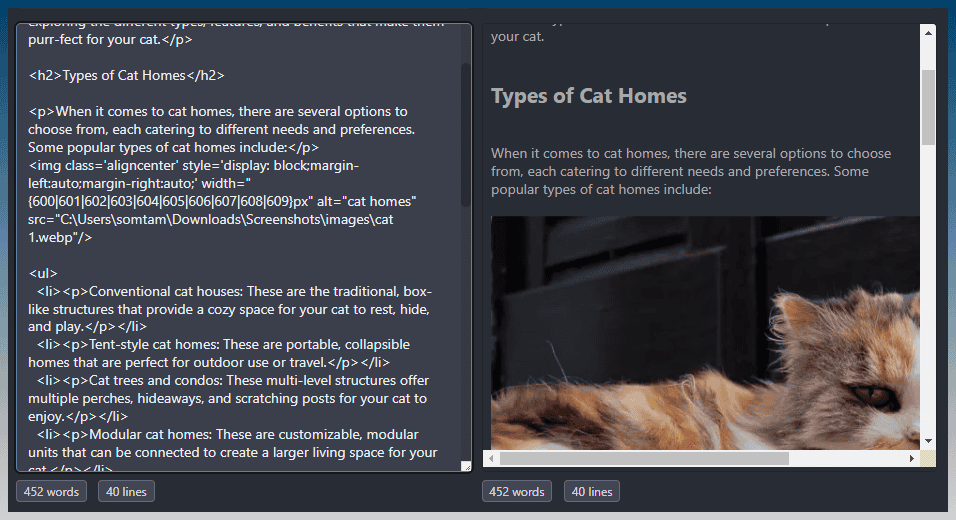
Output examples
All the inserted images inside the article are saved on your hard drive.
When using the upload WP post tool, SCM will upload those images into the WP media pool automatically for you.
1 Youtube image at the start of the article

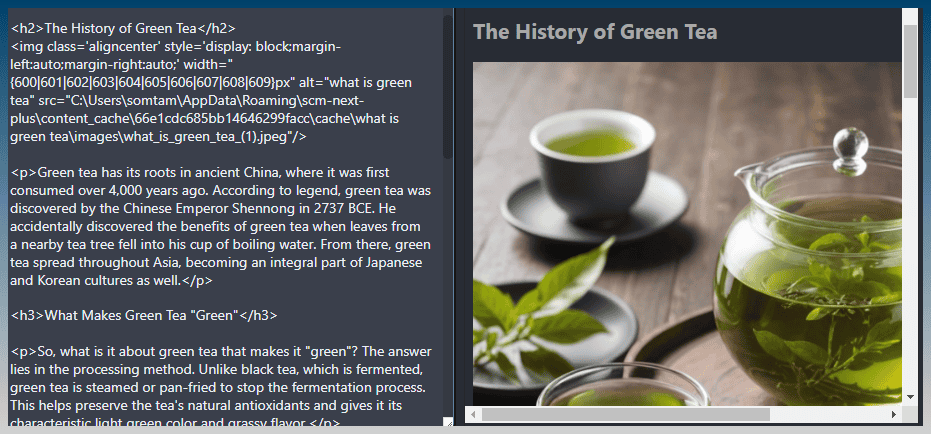
1 AI image inserted randomly in the article
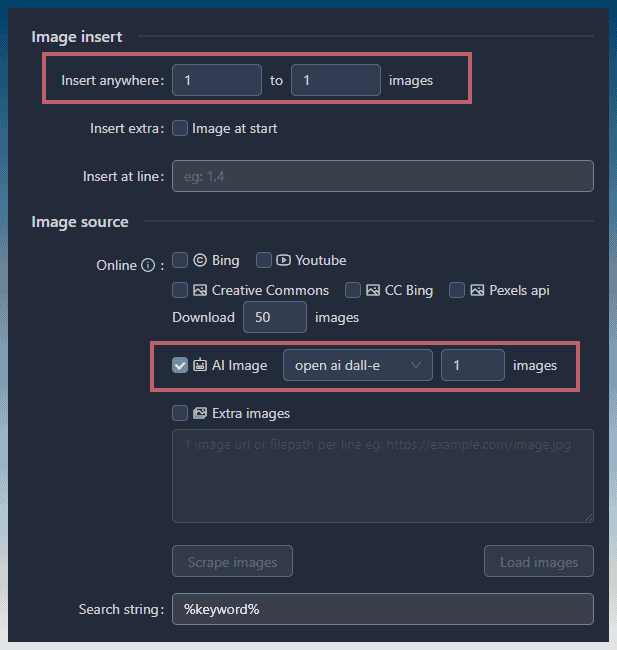
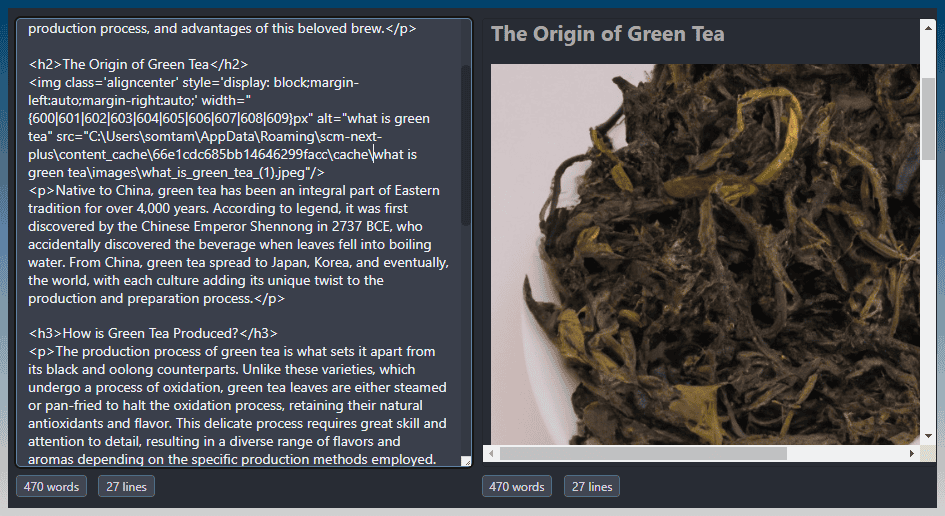
Image when generated using stable diffusion
1 image from your hard drive in a random location
FAQ
How can I change the size of the image?
Under Image – Tag
You can change the image width.
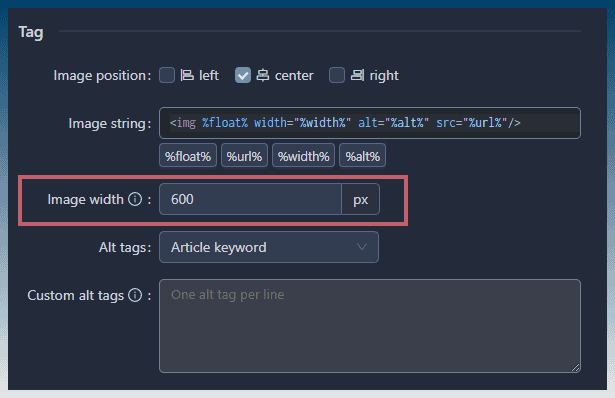
SCM will randomize the width automatically for you +/- a few pixels to avoid creating a footprint.
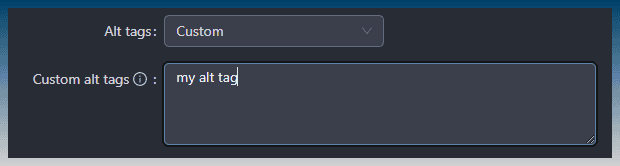
How to edit the alt tags?
You can insert your own alt tags by changing the drop down.
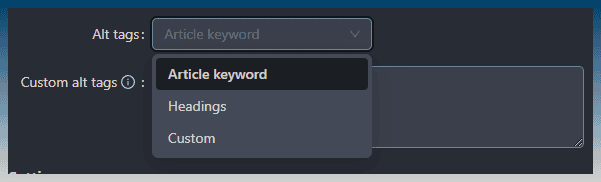
Choose custom and you can type in your own alt tags
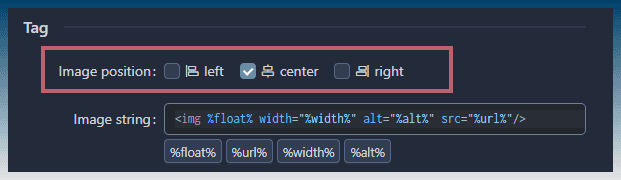
How do I randomize the position of the image?
The default is to insert the image at the center of the article.
Using the image position property, you can choose to float left/right as well.
Choosing all options lets the image appear with a random position.